Over the past few months, my part of Oz has been ridding itself of a drought that has been ongoing since 1995. That’s why you can’t really resent the rain. Or shouldn’t, not if you don’t want to be labelled shallow and callous. But the sun actually came out the day before yesterday, and it was warm, and sunny, and I joyfully ventured forth into The Great Outdoors, ie. my backyard.
It turned out that my backyard has, alas, turned into an alien and hostile place, thanks to complete neglect over, ooh, say, five months or so. I know, I know, but it’s been raining every single day, all right? But all this would change, I vowed as I hacked my way through the undergrowth with a machete and waved at Tarzan as he swung by on a vine on his way home to Jane and Tarzan Jr. There would once again be Lawn. And the scent of herbs instead of dog poop in the air. Tomorrow, I vowed, we would Clean Up the Backyard.
The next day, of course, it rained.
But rather than resent the rain (see shallow and callous, above), I settled in for a rainy day timetable: an old Hollywood musical (On the Town for the win!), the blanket I’m crocheting, and my younger son’s favourite jam buns.
Jools has been at me to make these for a while now, but I’ve neglected baking with yeast for a while, so he’s been missing out, but today was his day.
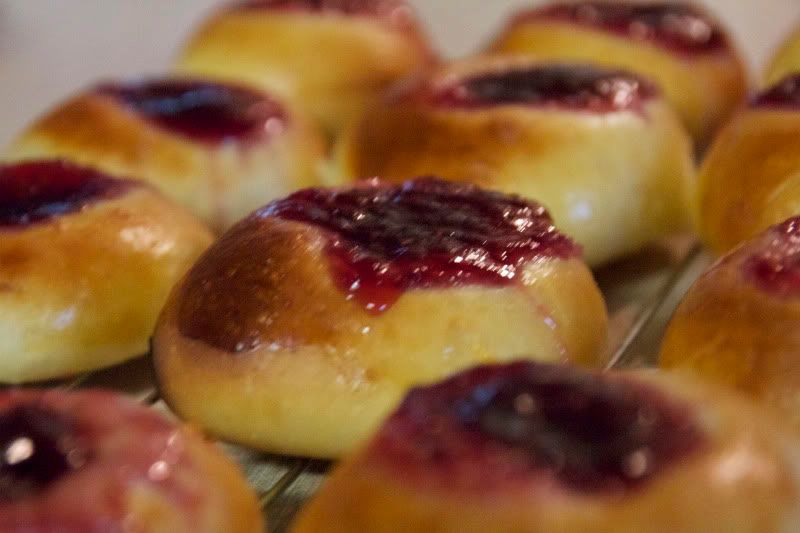
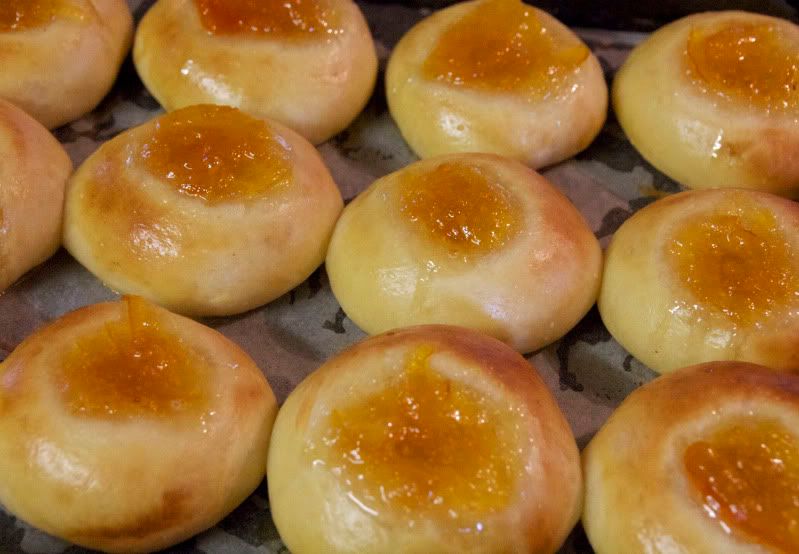
These little buns, with their sweet jam centre, are reminiscent of thumbprint cookies, hence the name. They are a great favourite with children, but don’t let that fool you: they are delicate in texture and flavour, and very, very light, and will make the most demanding adult palate happy. The dough is not too sweet, so as to be a good foil for that mother load of jam.
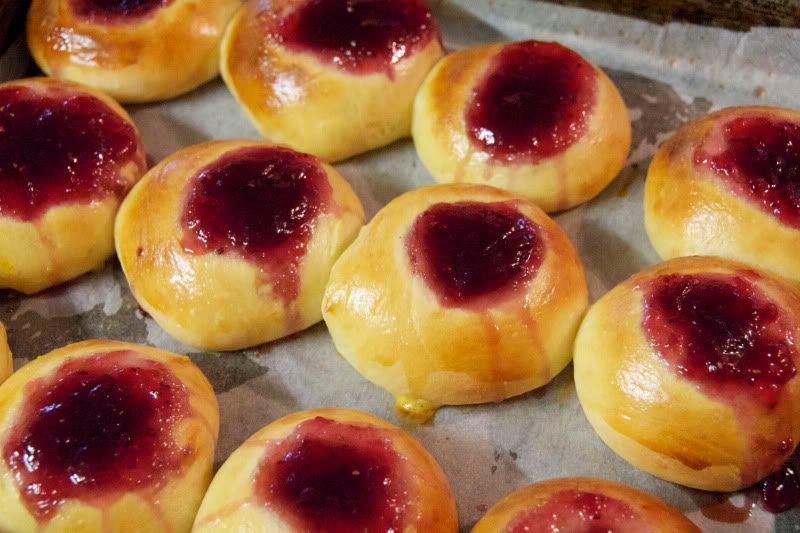
I like these jam buns warm, but be careful that they are not hot: the jam filling when they come out of the oven is molten hot lava.
Recipe below.
Despite the numerous pictures in this post, yeast baking is simple, and has been made infinitely more simple by instant yeast. Honestly – I have no idea why compressed and fresh yeast even exist any more, let alone why anyone would buy them. When using instant yeast, all you need do is add it to the dry ingredients – that’s it.
Whisk wet ingredients together. This recipe calls for hot milk, but by the time you’ve whisked it with the remaining ingredients, it’ll be the right temperature for the yeast.
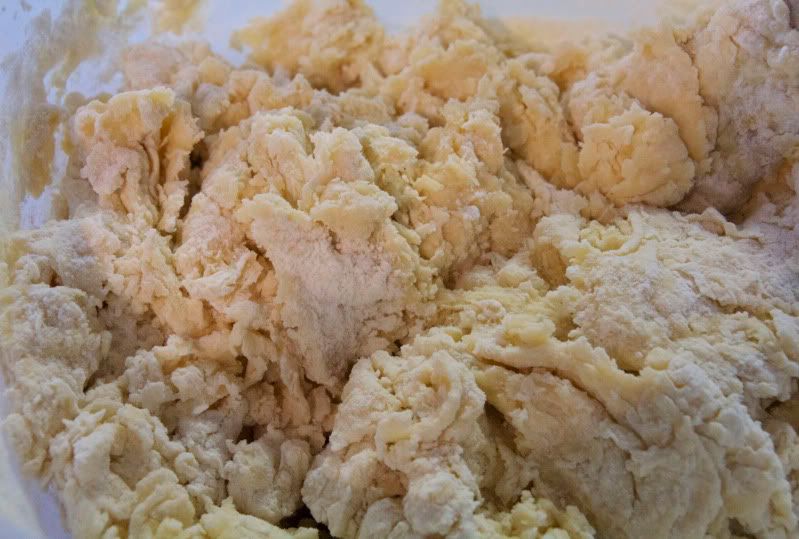
Add wet ingredients to dry, and stir with a wooden spoon until it just comes together. If using an electric mixer, use the paddle or K attachment.
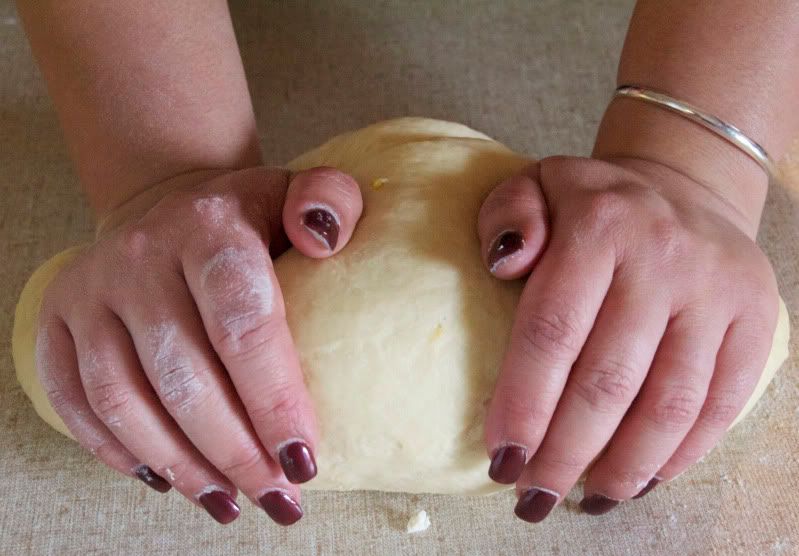
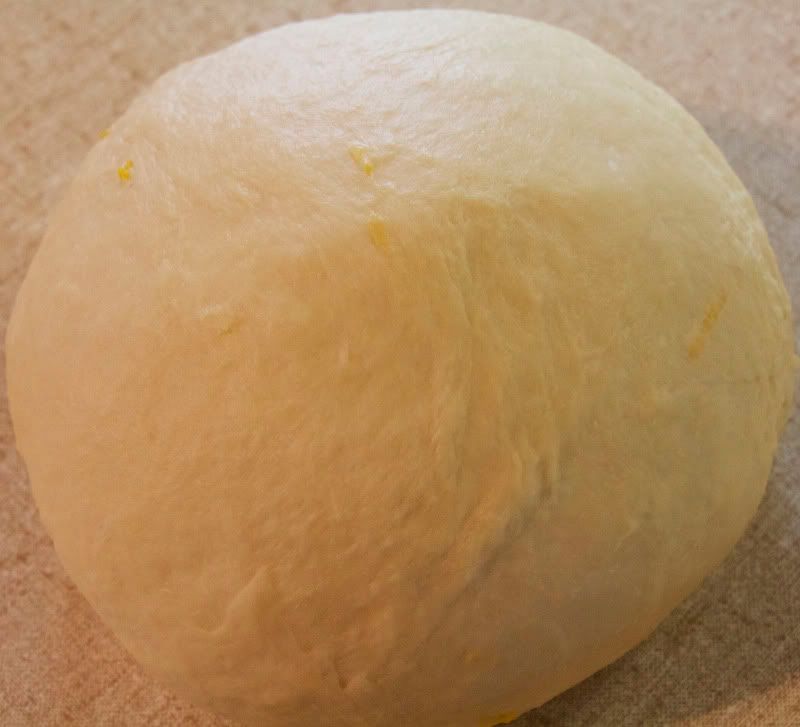
Turn your lumpy mixture onto a floured surface for the fun part: kneading. You’ll need to sprinkle the surface a couple of times with flour, but after a while it won’t stick to the surface any more. If using a machine with dough hook, give it about 4-5 minutes, but if kneading by hand, give the dough 8 minutes by the clock. There is a technique to kneading, but really, all you need to do is develop the gluten, and all that requires is gumption, so whatever you do to the dough, don’t be gentle. After the kneading time your dough will be elastic and springy and…
… smooth as my baby’s bottom. I mean a baby’s bottom. Ahem.
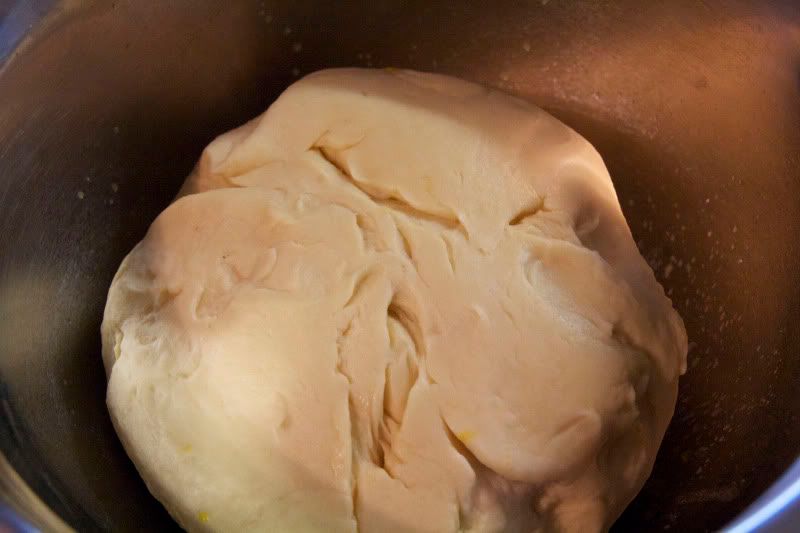
Time to rise the dough. This has to be done in a greased bowl, and this is the easiest way to grease it. Get a puddle of melted butter or oil in a bowl that will comfortably hold 2 1/2 times the volume of dough.
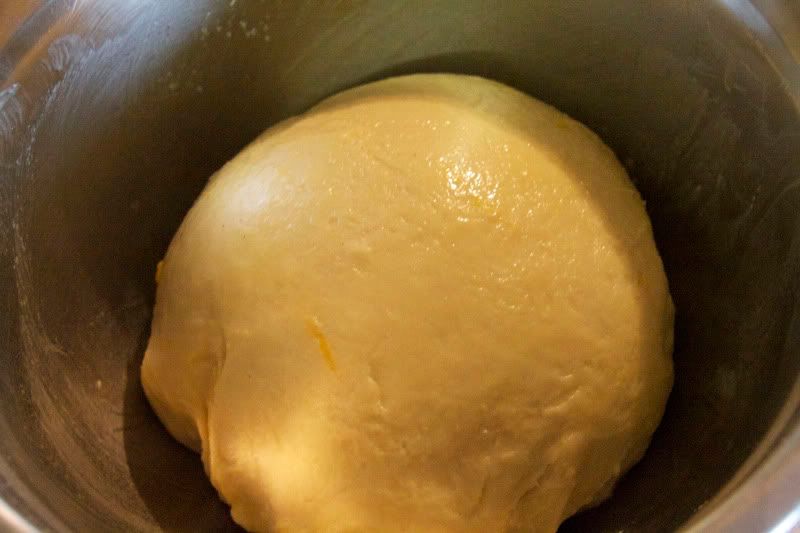
Put in the dough, smooth side down. Grab the dough by the ugly side, and wipe the inside of the bowl with the smooth part of the dough, which is now coated in butter or oil.
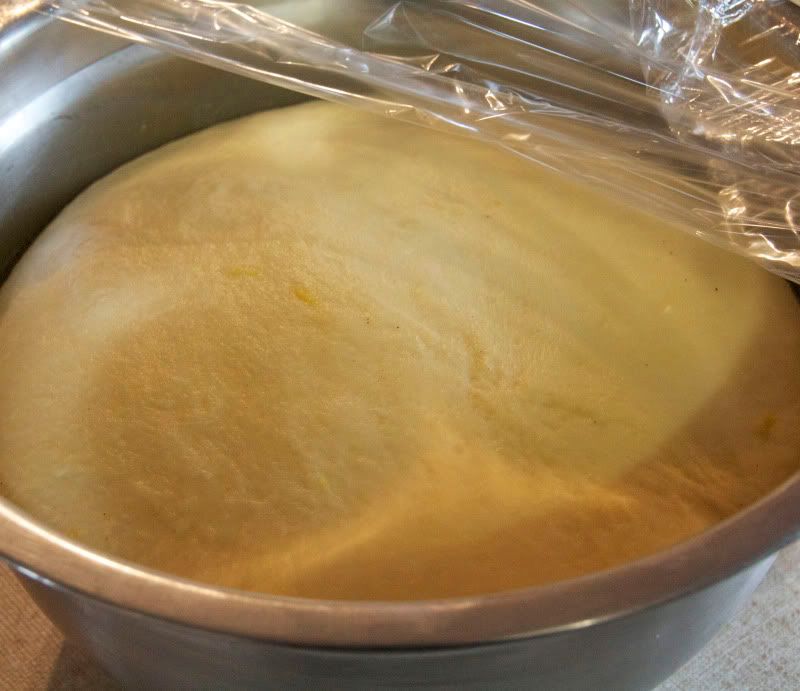
Flip the dough smooth side up again, cover with plastic wrap or floured cloth, and allow to rise in a warm place until doubled.
How long dough takes to rise depends on a few variables, but this batch took about an hour or so, in my oven which was just turned on.
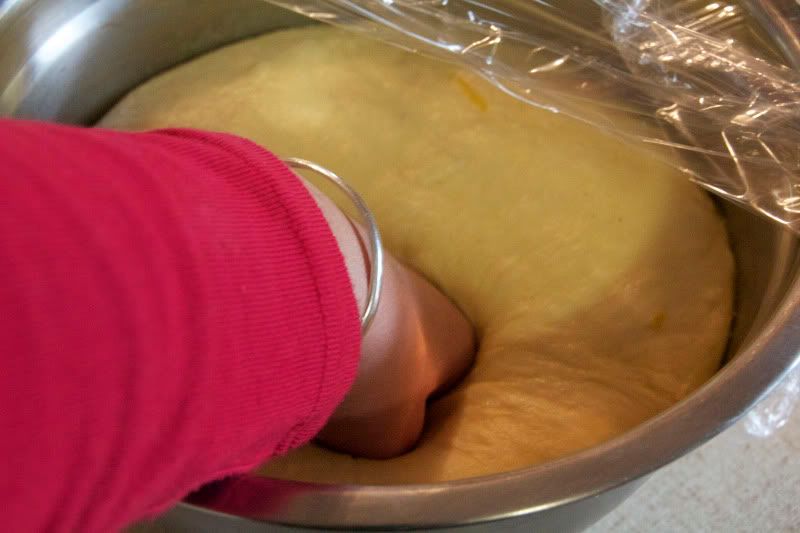
Knock (punch) the dough down. Satisfying. Divide the dough into 36 pieces, to make 36 buns.
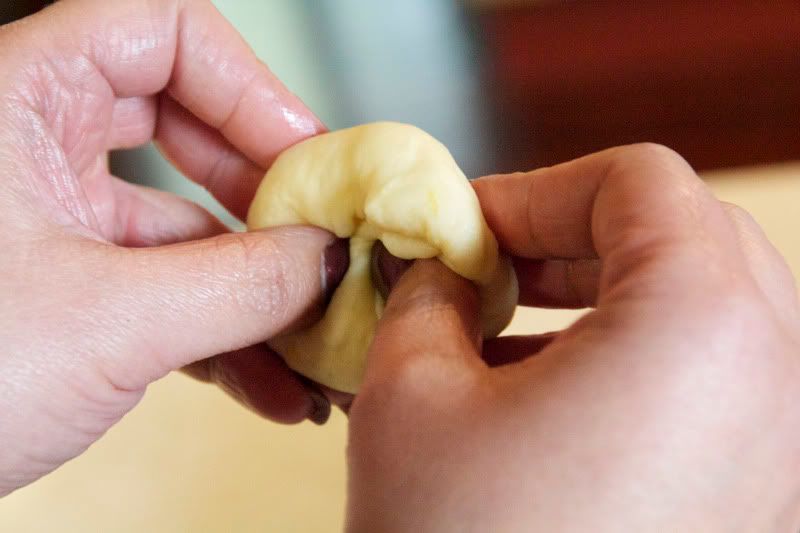
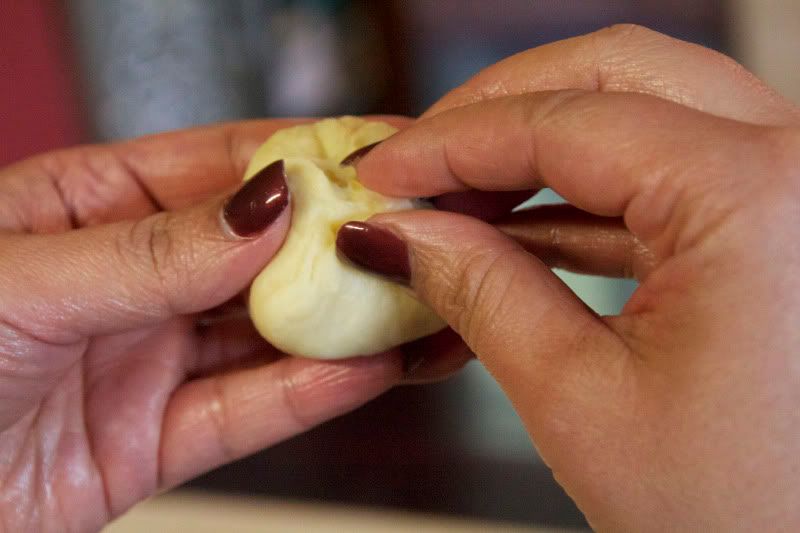
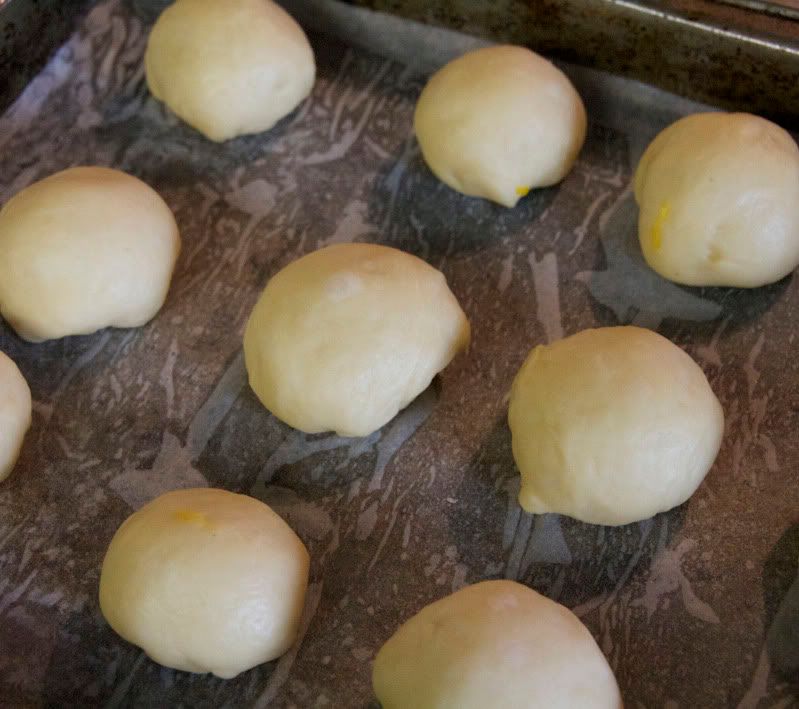
Now to form the buns. This is my ma’s technique, which quickly and easily gives smooth tops, and I hope to be able to explain with a couple of pictures. This is a folding technique. You get a piece of dough, form into a rough ball, then basically smooth the top with your fingers while tucking it underneath with your thumbs. Do this a few times.
Pinch the bottom closed.
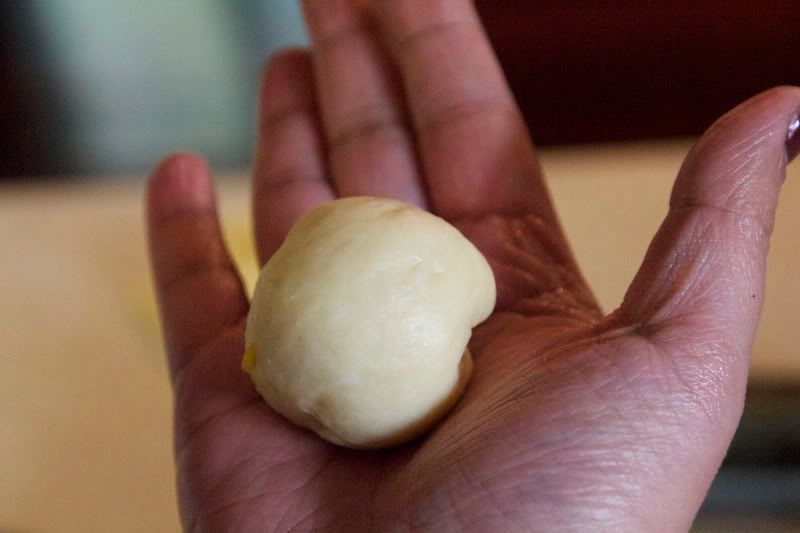
You’ll now have a smooth ballish shape. Shape a little more with cupped hands if you like.
Place on greased or parchment-covered pans and allow to prove until almost doubled. Now – this is important: NEVER allow shaped breads and rolls to completely double before baking. Yeasted goods continue rising when you put them in the oven (“ovenspring”), and if your rolls are already doubled they’ll overrise… and then go flat. Flat in a yeasted item is not good: it means overfermented, hard, dry, and crumbly. Three-quarters of the way to doubled is about right.
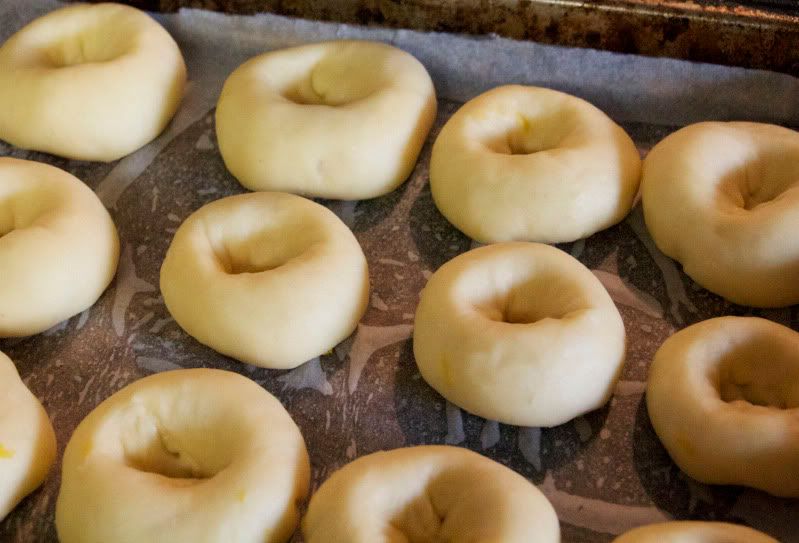
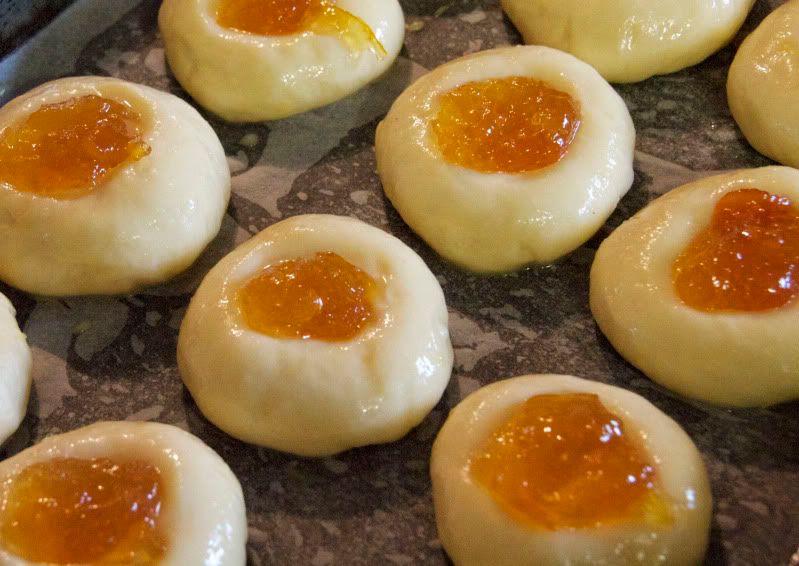
More fun: make deep indentations with your thumb in each bun, brush with egg white…
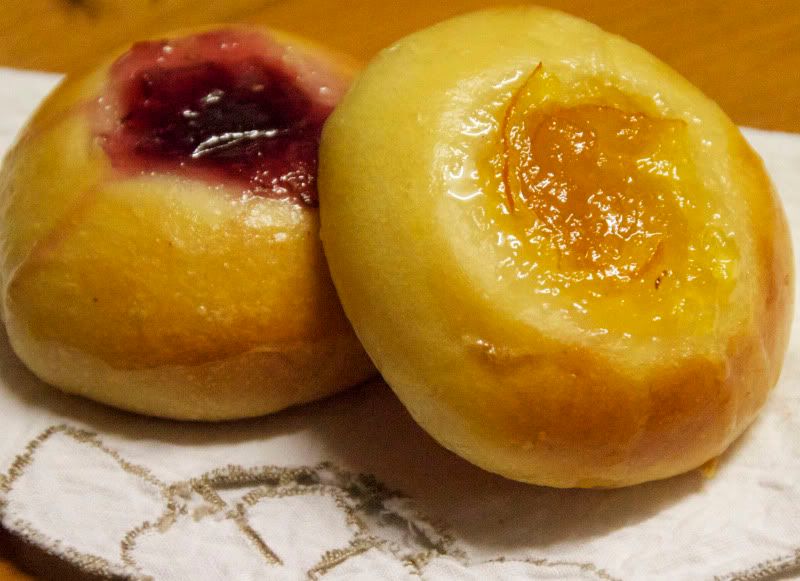
… and fill each one with a teaspoon of jam. Raspberry in these…
… and homemade Seville marmalade in these.
Bake in a hot oven for 10-15 minutes until golden.
Tempting, but don’t touch just yet. Remember: molten hot lava.
Cool to warm and eat. Two at least, with a glass of milk. Yumbo McGillicutty!
THUMBPRINT BUNS
Makes 36 buns
Ingredients:
5 cups strong unbleached flour
3 tsp. instant yeast
1/2 cup sugar
1 1/2 tsp. salt
grated zest of 1 lemon
1 cup plain nonfat yoghurt
1 cup hot milk
1/2 cup melted butter
2 eggs, separated
Jam, desired flavour
What you do:
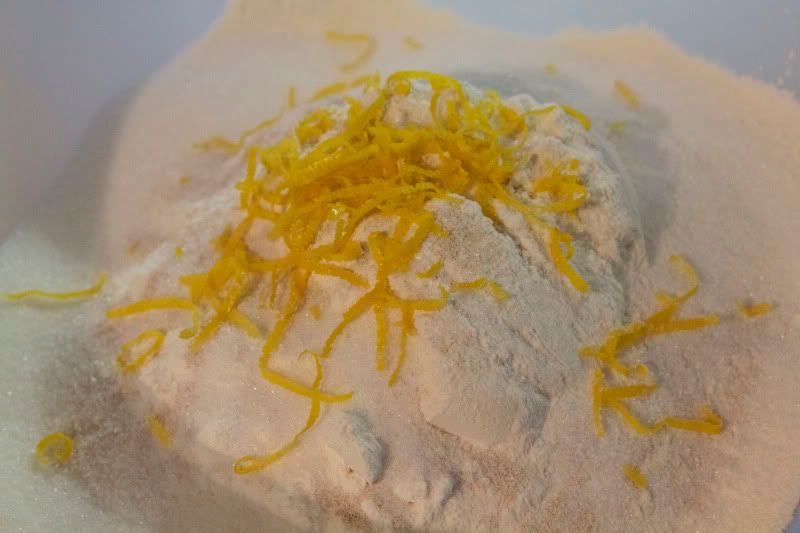
1. Combine flour, yeast, sugar, salt, and lemon zest in a large bowl.
2. Whisk together the yoghurt, milk, butter, and egg yolks. Add to dry ingredients, and stir to combine. Knead by hand for 8 minutes, or by machine with dough hook for approximately 5 minutes, until smooth and elastic. Put dough in a greased bowl, cover with oiled cling film, and allow to rise until doubled.
3. Knock down dough, and divide in three equal portions. Roll each portion to form a thick sausage, and cut each sausage in 12. Shape pieces into smooth balls, and place on lightly greased baking pans, about 2 in (5 cm) apart.
4. With your thumb, make deep depressions into the centre of each bun. Brush buns with beaten egg white, and fill depression with about 1 tsp. jam. Allow buns to prove until almost doubled, then bake in a 200oC oven for 10-15 min., until golden.



Thanks for such a clear instruction. I'd love to try this recipe! they look really good and easy to make.
ReplyDeleteThanks! It was a bit hilarious getting the step-by-step pix, but I thought it was worth it for this because yeast cookery tends to make people nervous - and it shouldn't.
ReplyDeleteThanks for stopping by my blog and your heart-warming comment... yes, that's what it's all about ... I left no stone unturned to try and make him comfortable. SW
ReplyDeleteWow, these look fantastic. And they are remarkably like thumbprint cookies. Wish I could have a taste of yours.
ReplyDeleteHope you get some sunshine soon.
Thanks, Carolyn. I'm sure you could adapt them!
ReplyDeleteThese are adorable! Would love to have a plate full of these now!
ReplyDeleteGive them a go - they are super easy and make people happy. They're a treat for the kid in all of us.
ReplyDeleteOH. MY. YUM. These remind me of little baby bialys :) I'm looking forward to making them! Thanks for posting.
ReplyDeleteXO,
~Melissa
www.ChinDeep.com
Oh, my! Onion bialys - one of my favourite things in the whole wide world! Now you've got me thinking about baking some. Not good - we're heading into summer here!
ReplyDelete