"A person cooking is a person giving: Even the simplest food is a gift."

Laurie Colwin
Showing posts with label Brekkie. Show all posts

Tuesday, September 28, 2010

She's got great buns: Thumbprint Buns, that is.

Over the past few months, my part of Oz has been ridding itself of a drought that has been ongoing since 1995.  That’s why you can’t really resent the rain.  Or shouldn’t, not if you don’t want to be labelled shallow and callous.  But the sun actually came out the day before yesterday, and it was warm, and sunny, and I joyfully ventured forth into The Great Outdoors, ie. my backyard.

It turned out that my backyard has, alas, turned into an alien and hostile place, thanks to complete neglect over, ooh, say, five months or so.  I know, I know, but it’s been raining every single day, all right?  But all this would change, I vowed as I hacked my way through the undergrowth with a machete and waved at Tarzan as he swung by on a vine on his way home to Jane and Tarzan Jr.  There would once again be Lawn.  And the scent of herbs instead of dog poop in the air.  Tomorrow, I vowed, we would Clean Up the Backyard.

The next day, of course, it rained. 

But rather than resent the rain (see shallow and callous, above), I settled in for a rainy day timetable:  an old Hollywood musical (On the Town for the win!), the blanket I’m crocheting, and my younger son’s favourite jam buns.

Jools has been at me to make these for a while now, but I’ve neglected baking with yeast for a while, so he’s been missing out, but today was his day. 

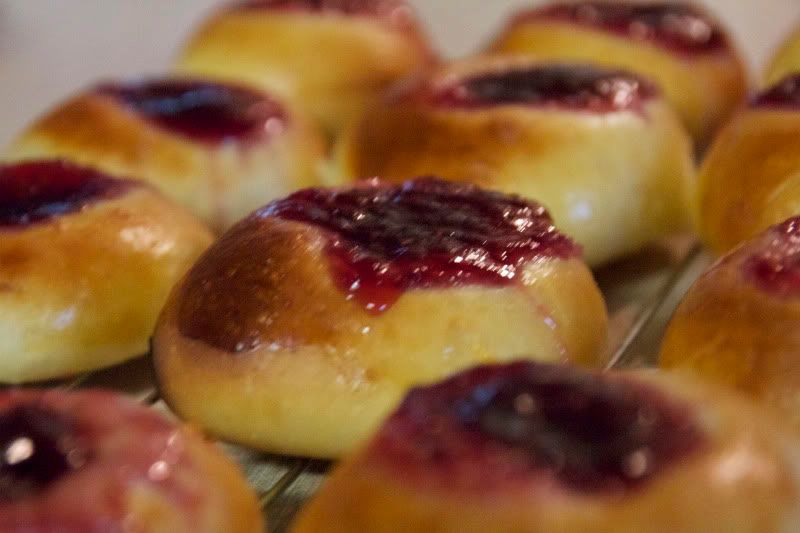
These little buns, with their sweet jam centre, are reminiscent of thumbprint cookies, hence the name.  They are a great favourite with children, but don’t let that fool you:  they are delicate in texture and flavour, and very, very light, and will make the most demanding adult palate happy.  The dough is not too sweet, so as to be a good foil for that mother load of jam.

I like these jam buns warm, but be careful that they are not hot:  the jam filling when they come out of the oven is molten hot lava.

Recipe below.


Despite the numerous pictures in this post, yeast baking is simple, and has been made infinitely more simple by instant yeast.  Honestly – I have no idea why compressed and fresh yeast even exist any more, let alone why anyone would buy them.  When using instant yeast, all you need do is add it to the dry ingredients – that’s it.


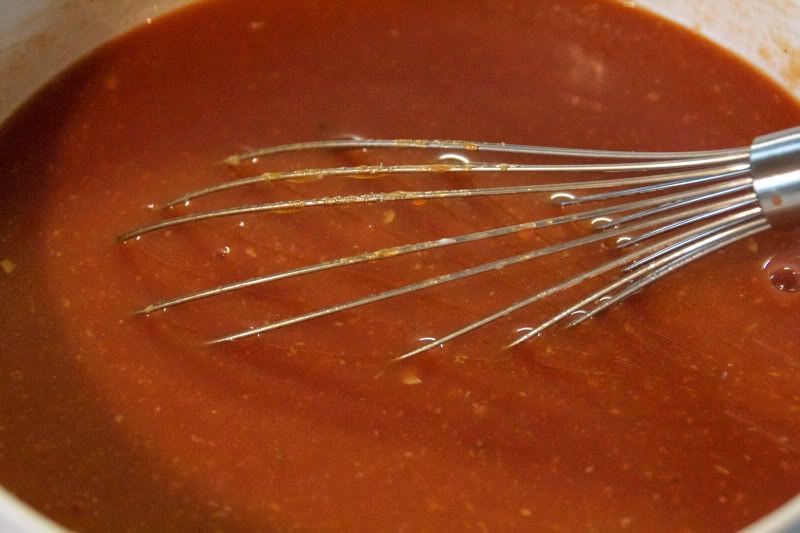
Whisk wet ingredients together.  This recipe calls for hot milk, but by the time you’ve whisked it with the remaining ingredients, it’ll be the right temperature for the yeast.


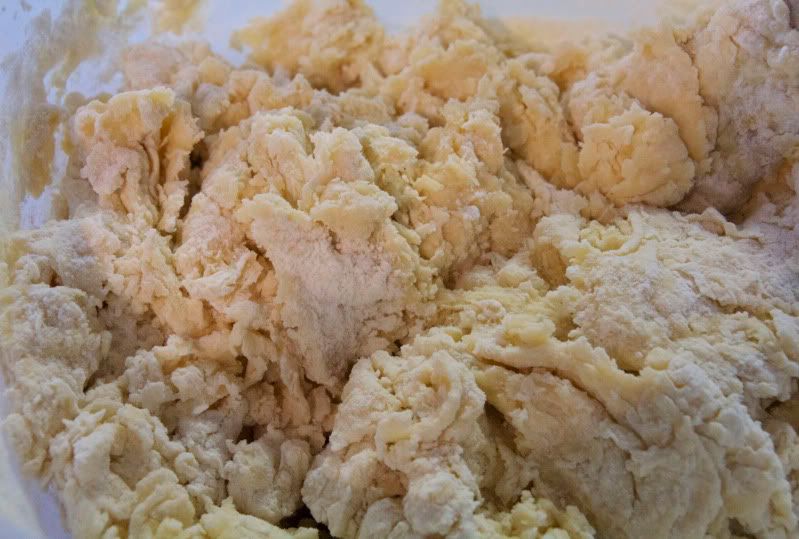
Add wet ingredients to dry, and stir with a wooden spoon until it just comes together.  If using an electric mixer, use the paddle or K attachment.


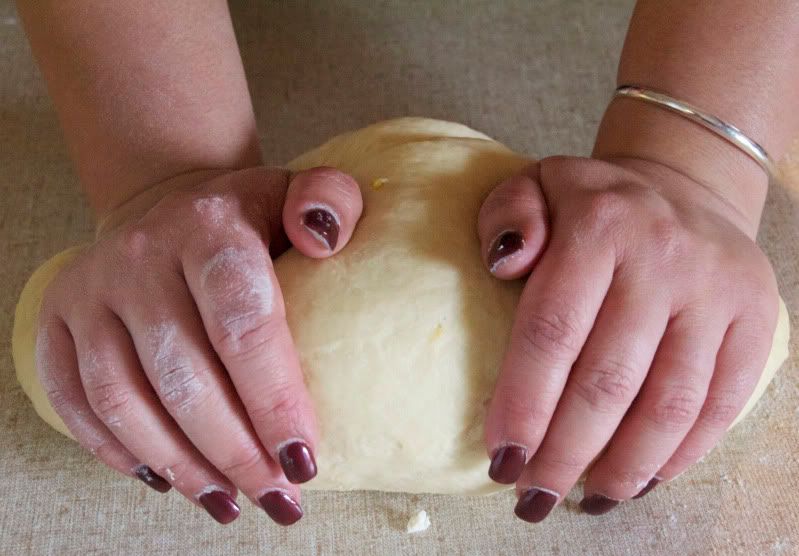
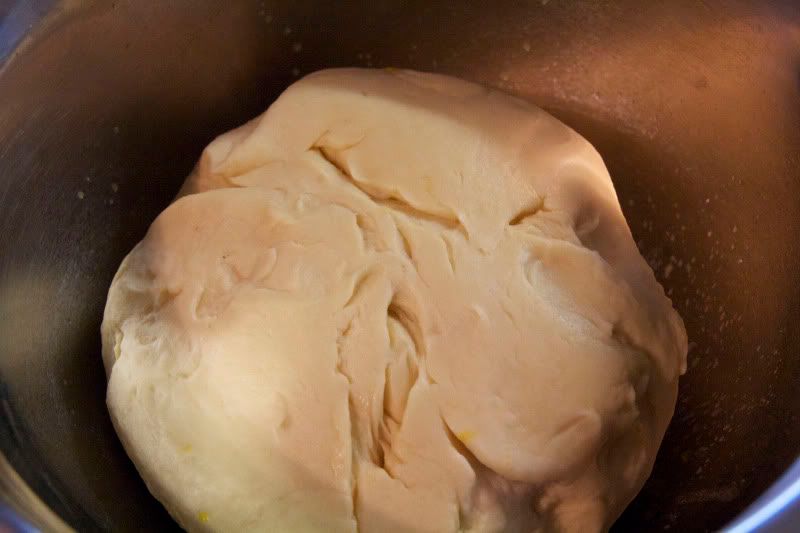
Turn your lumpy mixture onto a floured surface for the fun part:  kneading.  You’ll need to sprinkle the surface a couple of times with flour, but after a while it won’t stick to the surface any more.  If using a machine with dough hook, give it about 4-5 minutes, but if kneading by hand, give the dough 8 minutes by the clock.  There is a technique to kneading, but really, all you need to do is develop the gluten, and all that requires is gumption, so whatever you do to the dough, don’t be gentle.  After the kneading time your dough will be elastic and springy and…


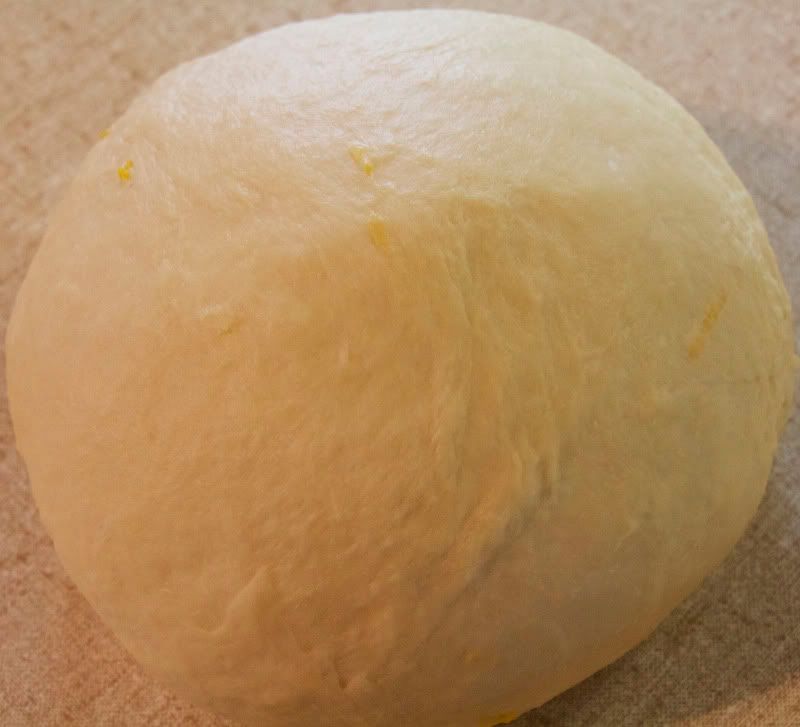
… smooth as my baby’s bottom.  I mean a baby’s bottom.  Ahem.


Time to rise the dough.  This has to be done in a greased bowl, and this is the easiest way to grease it.  Get a puddle of melted butter or oil in a bowl that will comfortably hold 2 1/2 times the volume of dough.


Put in the dough, smooth side down.  Grab the dough by the ugly side, and wipe the inside of the bowl with the smooth part of the dough, which is now coated in butter or oil.


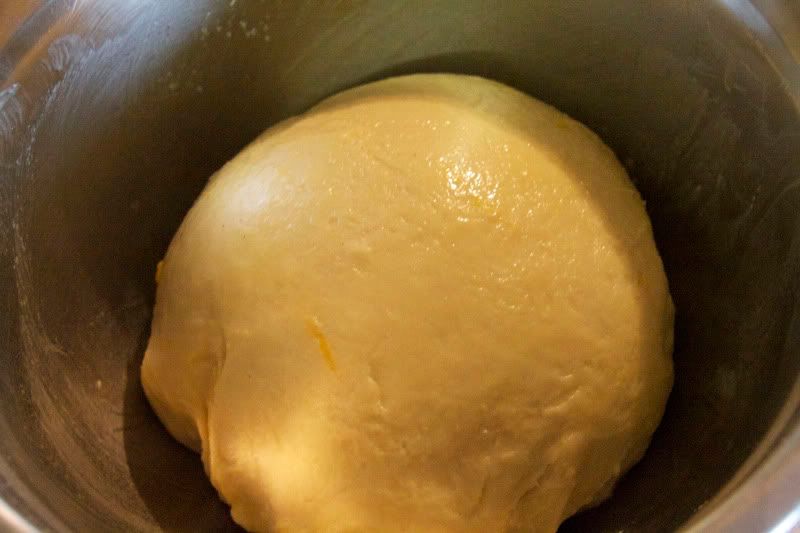
Flip the dough smooth side up again, cover with plastic wrap or floured cloth, and allow to rise in a warm place until doubled.


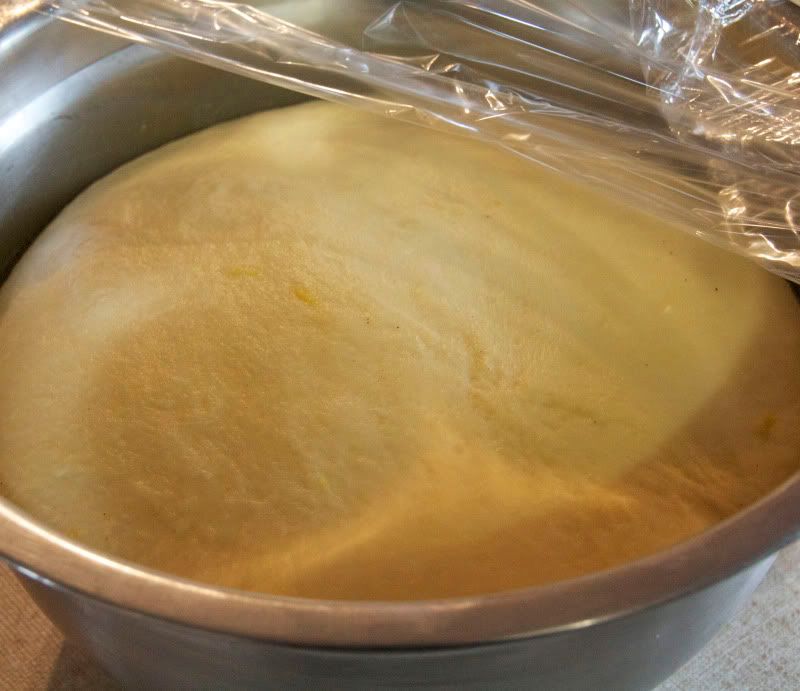
How long dough takes to rise depends on a few variables, but this batch took about an hour or so, in my oven which was just turned on.


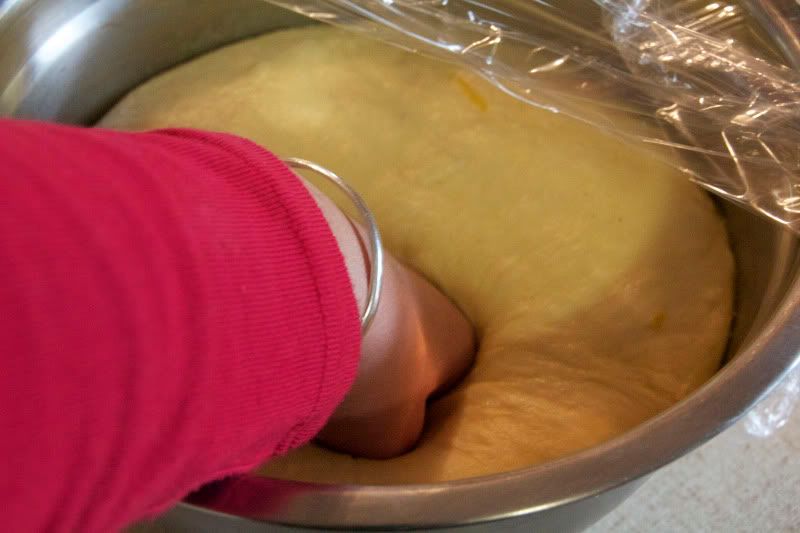
Knock (punch) the dough down.  Satisfying.  Divide the dough into 36 pieces, to make 36 buns.


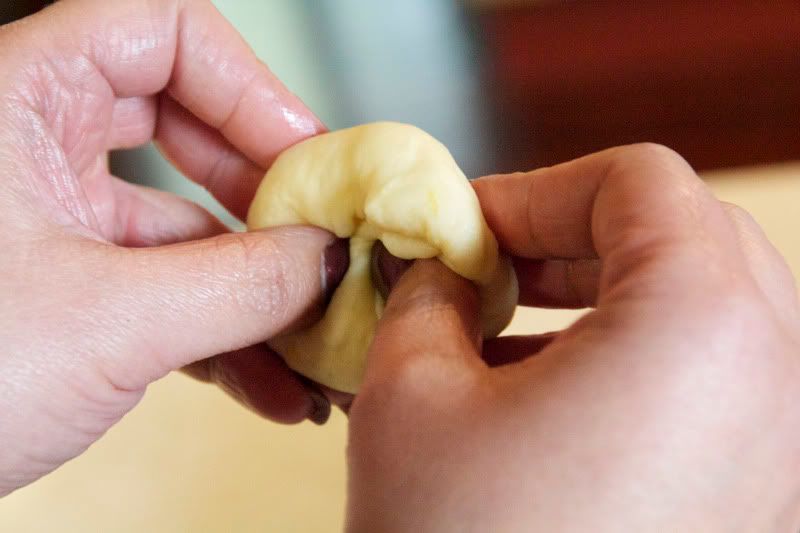
Now to form the buns.  This is my ma’s technique, which quickly and easily gives smooth tops, and I hope to be able to explain with a couple of pictures.  This is a folding technique.  You get a piece of dough, form into a rough ball, then basically smooth the top with your fingers while tucking it underneath with your thumbs.  Do this a few times.


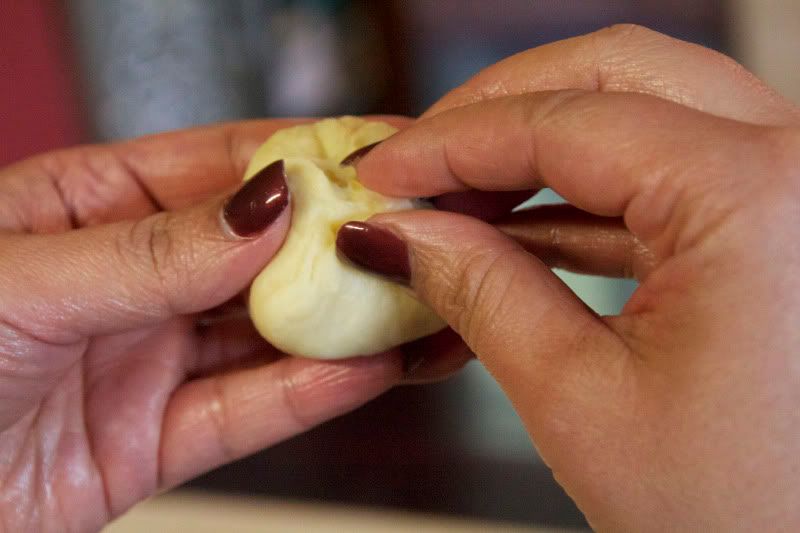
Pinch the bottom closed.


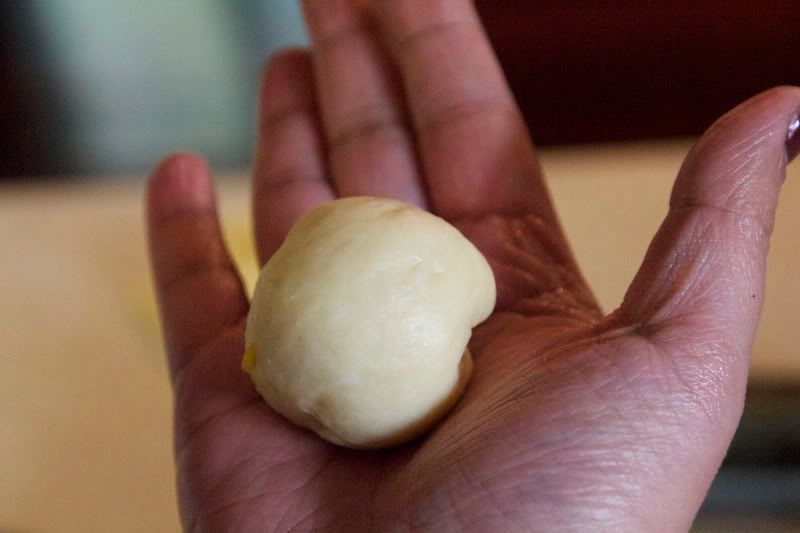
You’ll now have a smooth ballish shape.  Shape a little more with cupped hands if you like.


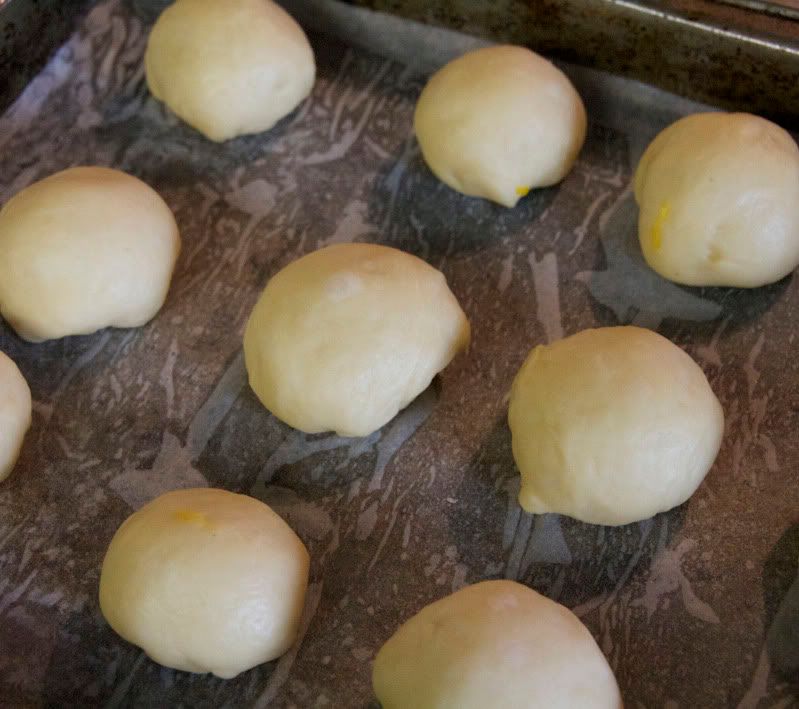
Place on greased or parchment-covered pans and allow to prove until almost doubled.  Now – this is important:  NEVER allow shaped breads and rolls to completely double before baking.  Yeasted goods continue rising when you put them in the oven (“ovenspring”), and if your rolls are already doubled they’ll overrise… and then go flat.  Flat in a yeasted item is not good:  it means overfermented, hard, dry, and crumbly.  Three-quarters of the way to doubled is about right.


More fun:  make deep indentations with your thumb in each bun, brush with egg white


… and fill each one with a teaspoon of jam.  Raspberry in these…


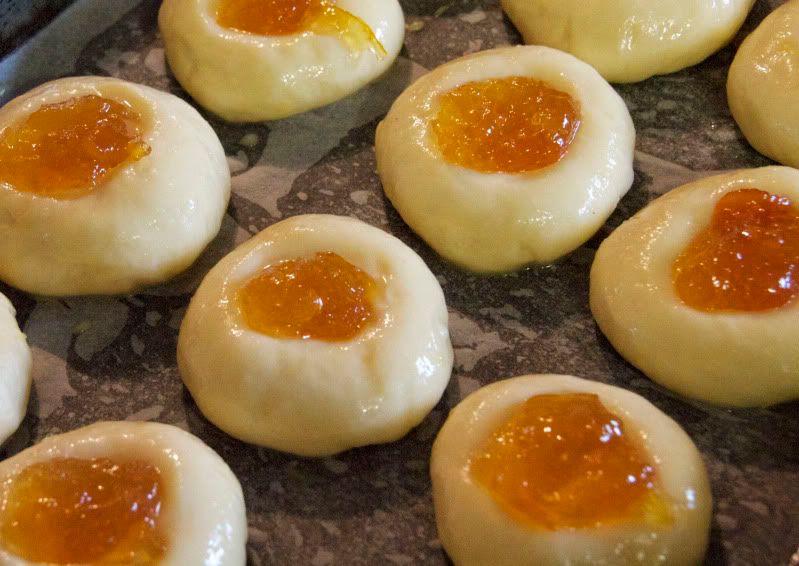
… and homemade Seville marmalade in these.


Bake in a hot oven for 10-15 minutes until golden.


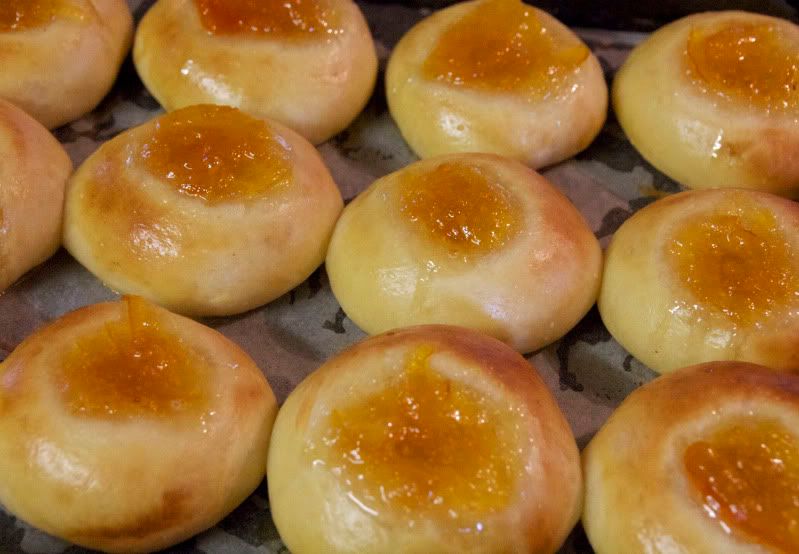
Tempting, but don’t touch just yet.  Remember:  molten hot lava.


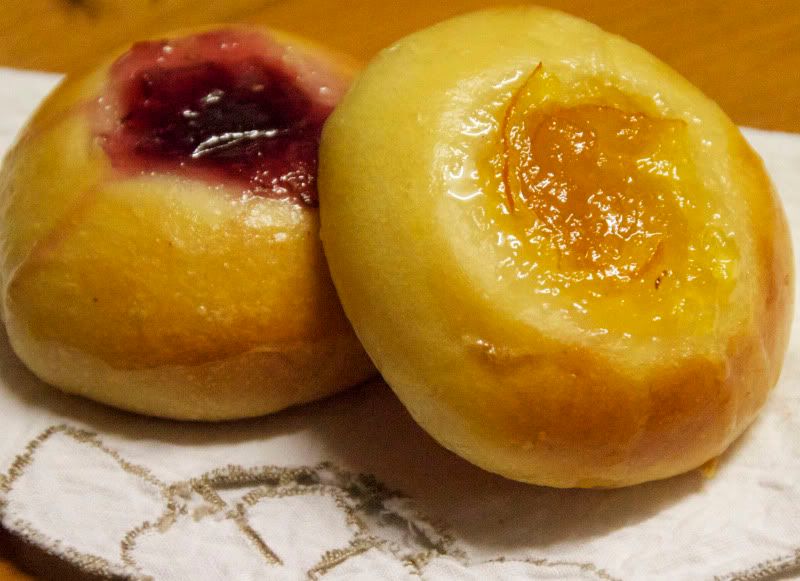
Cool to warm and eat.  Two at least, with a glass of milk.  Yumbo McGillicutty!


THUMBPRINT BUNS
Makes 36 buns

Ingredients:
5 cups strong unbleached flour
3 tsp. instant yeast
1/2 cup sugar
1 1/2 tsp. salt
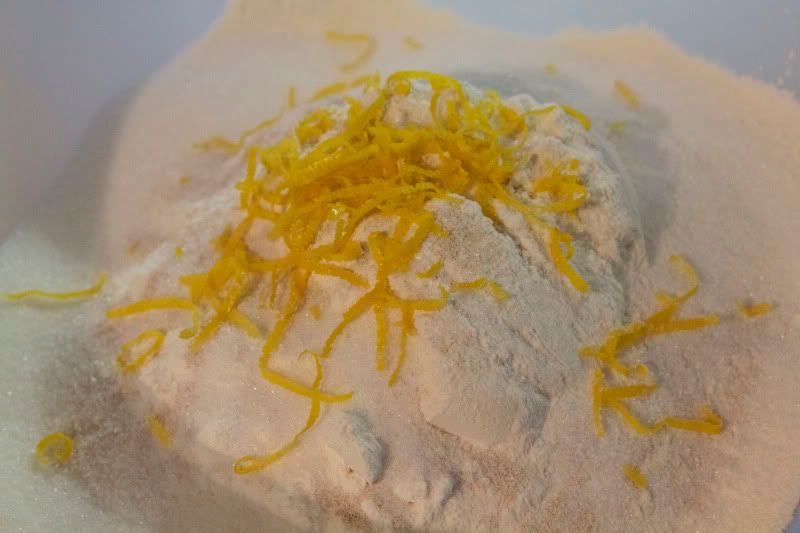
grated zest of 1 lemon
1 cup plain nonfat yoghurt
1 cup hot milk
1/2 cup melted butter
2 eggs, separated
Jam, desired flavour

What you do:
1. Combine flour, yeast, sugar, salt, and lemon zest in a large bowl.
2. Whisk together the yoghurt, milk, butter, and egg yolks. Add to dry ingredients, and stir to combine. Knead by hand for 8 minutes, or by machine with  dough hook for approximately 5 minutes, until smooth and elastic. Put dough in a greased bowl, cover with oiled cling film, and allow to rise until doubled.
3. Knock down dough, and divide in three equal portions. Roll each portion to form a thick sausage, and cut each sausage in 12. Shape pieces into smooth balls, and place on lightly greased baking pans, about 2 in (5 cm) apart.
4. With your thumb, make deep depressions into the centre of each bun. Brush buns with beaten egg white, and fill depression with about 1 tsp. jam. Allow buns to prove until almost doubled, then bake in a 200oC oven for 10-15 min., until golden.

Wednesday, September 22, 2010

Don't be mean with the beans, mum

It’s not heartening when you tell your husband that you’re having baked beans on toast for dinner and he counters by offering to make dinner reservations.

But OK, let’s give the man a break.  As a husband, he’s pretty new, without benefit of the common-law marriage prior to moving in, so he wasn’t to know that I wasn’t going to open up a can of Heinz’s best to dump on top of some poor unsuspecting piece of toast.

Heinz’s best, by the way, are something I despise, despite their iconic status.  No icon can take my attention away from the fact that what I’m eating is slimy, slippery, and much too sweet in altogether the wrong way.  (There is a right way for something to be too sweet – baklava, for example.  But more on this another time.)  Plus the “tomato” flavour is nothing like what a real tomato – even a tinned real tomato – tastes like.  That’s why I put together this recipe many years ago.  They’re not Boston baked beans, largely because I’m not a huge fan of the predominant molasses flavour, but they were my answer to Heinz for a daughter who really, really loved her beans on toast for breakfast and afternoon meal (she stopped eating lunch in high school and would be ravenous when she got home).  I added some brown sugar for a hint of molasses and sweetness, and went to town on the seasoning.  Who Heinz?

Back when I had a houseful of children, I would make twice the amount below and freeze leftovers in single portions in paper cups.  One of these takes about two minutes to thaw and warm through in the mikey; convenience food at its best.  Last night, we had them on beautiful sourdough rye toast and smoked cheddar, and they were still convenient.  Despite the long cooking time, during which the house was the best-smelling house on the street, dinner was on the table in a couple of minutes.

My husband wolfed down his plateful and apologised for ever doubting me.  And then I had him apologise a couple more times, just because he’s such a new husband that I can get away with this kind of thing for now.  


STICKY BAKED BEANS
These baked beans don’t need the pork, and will still be delicious and sticky without it.  And by the way, if you haven’t made my beautiful sweet chilli sauce yet and are looking for a way to use the bottle of commercial stuff you still have, this is the perfect recipe for it. (Serves 6)

Ingredients: 
1 tbsp. oil
2 onions, finely chopped
2 stalks celery, or green peppers (capsicum), finely diced
2 cups water or stock
3 tbsp. prepared mustard (I like these tablespoons to be heaped)
1 1/2 tsp. salt or to taste
1 cup tomato passata
2 tbsp. tomato paste
1/4 cup sweet chili sauce
1/4 cup brown sugar
1 tbsp. Worcestershire sauce
4 cups cooked, but al dente, beans – I used a mixture of black turtle beans and four-bean mix (tinned are ok if you must, but rinse before using, and understand that there is a risk they will go mushy)
1 ham hock OR several bacon bones OR 250g. bacon in the piece(opt.)

What you do: 
1. Preheat oven to 160oC.  Heat oil in a frying pan. Add onions and celery or peppers, and cook for about 10 min., stirring occasionally, until onions are lightly browned
2.  While the veggies are cooking, whisk together the water or stock, mustard, salt, tomato passata and paste, sweet chili sauce, brown sugar, and Worcestershire sauce.
3.  Combine beans and veggies in casserole with a tight-fitting lid, and stir in sauce mixture.  Bury the ham hock, bacon bones or bacon in the middle. Cover casserole, and bake 3-4 hours, removing the lid for the last hour of cooking.  Beans should be tender, thick, and slightly sticky. You can remove bacon or ham hock and set aside for another use, or chop and add to beans.


Here are the soaked and pre-cooked beans.  They are still quite al dente.  This will prevent mushiness in the finished dish.
Yes, the sauce mixture looks Heinzey when you put it together, but it comes good in the end.

Add the sautéed veggies to the beans.  I like to let my veg catch and scorch just a bit.  It adds depth and flavour to the sauce.

Add the sauce mixture to the beans and veg.  

If using the ham hock or bone, bury it in the middle.  By the way, you're not imagining it:  this is a huge casserole.  I doubled the recipe on purpose to have leftovers to freeze in individual portions in ziploc baggies.  

By the end of the cooking time, the mixture should be thick but the beans still plenty moist, with lots of sticky, but not runny, sauce.  Remove the meat from the ham, dice finely, and mix into the beans if you like (I do, and did).

Here they are on hausbrot with smoked cheddar and spinach that will eventually wilt from the heat of the beans.
Yumbo McGillicutty!


Sunday, August 22, 2010

Poha

OK so  I posted my recycled recipe for the poha leftovers before posting the recipe for the poha itself.  But this is an actual recipe, you know, with quantities and proper ingredients and times for cooking and stuff.  Oh, the pressure.

I read about poha a couple of weeks ago when looking at the brilliant Time photo essay, What the World Eats.  Without passing judgement whatsoever, it’s just fascinating to see what people eat on a daily basis, because food isn’t just one of the defining facets of culture, but it can also reflect everything from socioeconomic status, to religion, to the topographical landscape.  And the families in the pictures aren’t just asked to show what they eat in a week, but also to tell what they love to eat.  Hands down the family that gave me the biggest kick was the Melansons of Iqaluit, Nunavut Territory, Canada, who list their favourite foods as “narwhal, polar bear, extra cheese stuffed crust pizza, watermelon”, but the ones who sent me Googling were the Patkars of Ujjain, India, whose family recipe is “Sangeeta Patkar's Poha (Rice Flakes)”.

At this point, I felt cheated, because I felt I should know what these rice flakes were, but didn’t.  Even though I love and adore Indian food, maybe it was just something too exotic for me to have encountered before, I thought.  I asked Google.  Google said no.  Google said that poha is also known as flattened rice or beaten rice, and is very popular in India, particularly for breakfast.  Oh.  Thanks, Google.

Thick poha

At the Indian grocer’s near work, I found that poha comes in several thicknesses, and is a top convenience food.  Not only is it ready in half the time as rice, but you only need to rinse or soak it before cooking, if cooking it at all.  And it is light and fluffy when ready, in the way that you want rice to be but sometimes isn’t.

Poha with potatoes is a pretty standard combination, and once I knew what other cooks do to make it, I made my own.  But this is just the beginning, I reckon, and I can already see the possibilities for poha pilaf, poha ruz bish'irreeyeh, or even buttered poha with Parmesan on the side of something equally yummy.

While I enjoy a slice of cold pizza for breakfast as much as the next person (oh go on, admit it), and this poha is truly delicious, I don't think I could have it for brekkie.  So I served it for dinner with spinach sautéed in onion and garam masala and thick yoghurt stirred in.  But you don’t need an accompaniment.  This comforting bowlful o’carbs has pretty much everything you could want or need, as evidenced by the three main men in my life, who wolfed down massive helpings.


SPICED POHA WITH POTATOES AND CHICKPEAS
(serves 6)

Ingredients:
2 cups thick poha
2 tbsp. oil
2 tsp. mustard seeds
1 onion, chopped
2 green chilies, chopped
1 tsp. turmeric
a few curry leaves
a pinch of chili powder (opt.)
2 medium potatoes, diced
1 large tomato, chopped
1 cup cooked chickpeas (tinned are OK)
1 cup frozen peas
1/4 cup slivered or flaked almonds
salt and pepper, to taste
chopped coriander (cilantro), to taste
fresh lime or lemon juice, to taste

What you do:
1.  Put the poha to soak in a bowl of cold water while you prepare the vegetable mixture.
2. Heat oil in a large frying pan over medium-high heat.  Add mustard seeds.  When they pop and sputter, reduce the heat to medium and add the onion and chilies.  Sauté, stirring often, until onion is translucent, then add turmeric, curry leaves, and chili powder if using.  Stir constantly until aromatic.
3. Add potato and tomato, and jam the lid on.  Cook, stirring occasionally, until potatoes are tender but firm to the bite.  Add chickpeas, peas, and almonds, and allow to cook a few minutes.  Taste for salt and pepper, remembering that the poha is bland, so the flavour of the vegetable mixture will have to have oomph.
4. Drain poha, and stir into into vegetable mixture.  Jam lid on, and cook 5-7 min over low heat.  Fold in coriander and lime or lemon juice to taste.  Poha should be fluffy, so be careful when you do this so that you don’t break it down to mush.


 Swaadisht!