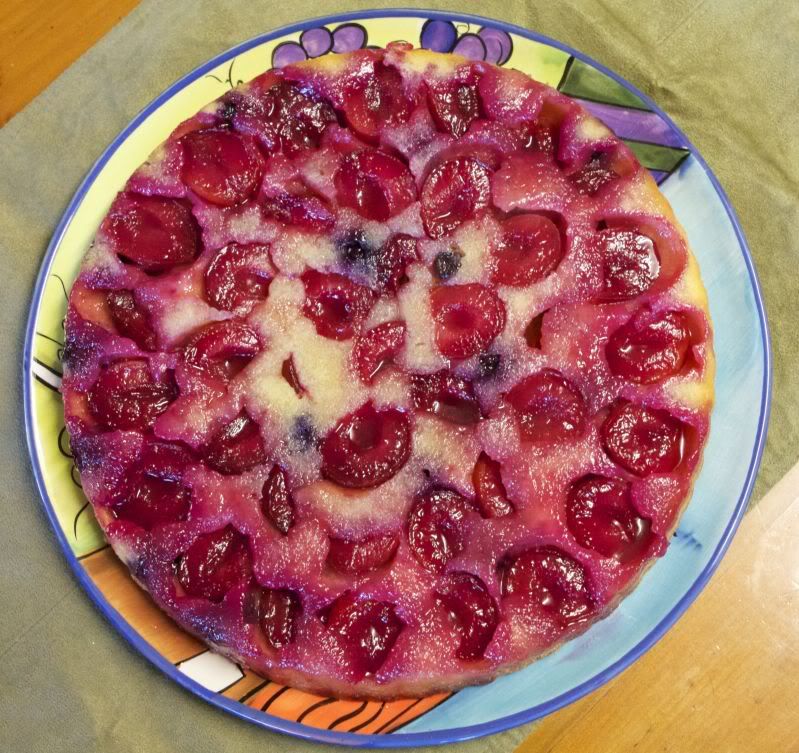
"A person cooking is a person giving: Even the simplest food is a gift."

Laurie Colwin
Showing posts with label Baking. Show all posts

Tuesday, April 10, 2012

50 posts, 16 years, one cake


This is my 50th post in this bit o’fun I call Yumbo McGillicutty! – my quiet and unassuming little food blog.  Fifty posts may not be much by other über-blogger standards, but it’s got me thinking about when I got into the Internet, about 16 years ago.

The Internet – even though it was far more advanced and bore little resemblance to the “first”, government- and nerd-populated Internet others knew through the ‘70s and 80s – was quite a different place then than it is now.  It was rough-and-ready, and looking back, quaint.  And it opened up the world for me.

In those days, I was isolated and lonely, raising children on acreage and holding the fort through some happy but hard days, unable to really count on a husband who worked unspeakably long and impossible hours.  Perhaps to my detriment – I dread to think how many hours could have been spent doing something constructive instead of “research” that steals hours in the blink of an eye – I turned to the Internet to draw closer to everything and everyone who was far away, and to amass and absorb information in a way that not even a mad reader such as me had been able to before.  It was awesome.  

One of the most awesome things was access to recipes.  Recipes for anything, courtesy of your favourite search engine!  Delivered to your Inbox via e-mail!  Recipes everywhere!  But they weren’t like you might see them today:  set up to food stylist standards with photography to match.  They were just… recipes.  Recipes that were sometimes backed up with lovely words that made you want to cook that thing, right now, but more often recipes by people whose judgement and taste you’d learnt to trust by virtue of their presence in a particular forum or noticeboard, where Experience and Knowledge was a beacon.

Look at me.  Getting nostalgic over the Old Internet.  But there were people who taught me so much and have been proven by time to be unforgettable.  “Limey Rik”, a teetotaller who compulsively made vats of wine from whatever he foraged each year:  dandelions, brambleberries.  Marie from Countrylife, whose knowledge of bread baking was encyclopaedic.  And Raz, whose grammar and spelling were woeful but whose every home-style recipe was guaranteed to make the people you cook for forget that things such as grammar – or even language! - “Mmm… mmm!...” – exist.

It was Raz who first posted a recipe for something called Spanish Bar Cake.  I’d never had it before, but she posted my favourite part of a recipe besides the eating:  the anthropological context.  She said it was a standard in A&P grocery stores in the U.S.  Here in Australia, I’d never been to an A&P store, much less had the cake, but even though the cake seemed nothing special to me, I trusted Raz, and I was intrigued that enough people rhapsodised about it, were nostalgic about it, and wanted to reproduce it at home.  So I made it, and understood why they did:  it isn’t a cake for sissies.  It is Serious Cake.  Very sweet, very spicy cake.  Dense cake.  Happy-to-be-home cake.  Not for dessert, but for chowing down.

Raz said, “Eat it, drink milk.  Makes a complete dessert meal.  Protein, fat, carbohydrate, pleasure.”

Yes, I wrote that down.  Now, it’s history.  When Raz first posted the recipe, it was one of just two or three recipes for Spanish Bar Cake on the Internet.  Since then, it’s been reproduced countless times in many websites, and the name of its original contributor has been lost to the virtual sands of time.  Or whatever.

But I remember.  I may be reproducing the recipe yet again, but I’m returning credit where credit is due.  I don’t know who Raz is, or was, but she shared something with me that has been part of my life now for 16 years, and part of my kids’ lives, and who knows?  Maybe my kids’ kids and theirs.  None of us in the U.S., none of us giving a damn about no A&P.  Just the cake.

A slice for you, Raz, and a nice cuppa herbal tea (although I did have a piece with a glass of milk for breakfast a few days ago), and a slice for everyone at the birth of this super information hyper highway who took the time to share a special recipe, and the reason it was special.  Because of you, the food blogosphere would not be where it is today.


RAZ’S SPANISH BAR CAKE
This is Raz’s original recipe, almost as exactly written back in the day.  Raz didn’t include milk in the original recipe, but you may need it due to the variables in homemade applesauce:  if it’s too thick, you’ll need milk, if it’s more liquid, you won’t.  Remember, however, that this is a dense cake with a dense batter, so add just enough milk to slacken it, not liquify it.

Ingredients:
2 1/2 cups Plain flour
1 tsp. bicarb soda (baking soda)
1 tsp. baking powder
1/2 tsp. salt
2 tsp. cinnamon
1/4 tsp. ginger
1/2 tsp. nutmeg, freshly grated for preference
3/4 cup butter
1 1/2 cups sugar
2 large eggs, beaten
Milk, as needed
1 tsp. vanilla essence
1 cup chunky applesauce, homemade is best
1 cup plump raisins
1/2 cup roughly-chopped walnuts (opt.)

For the icing -
250g. cream cheese
4 tsp. butter
2 1/4 cups icing sugar
1 tsp. lemon juice

What you do:
1. Grease and flour rectangular cake pan, or brush with Baker's Secret.  Preheat oven to 175oC.
2. Sift dry ingredients together, set aside.
3. In mixer on high speed, cream butter and sugar together.  Add eggs.  Blend well, then turn to low speed, and add vanilla and applesauce.  Add raisins, and dry ingredients.  Mix with a wooden spoon only until dry ingredients are moistened, then stop.  If necessary, add a little milk to slacken mixture slightly.
4. Turn mixture into pan, and bake for about 45 min., or until cooked when tested.  Leave to cool in pan, and cover with icing, making squiggle patterns with a fork.

*  To make icing, beat all ingredients together well.

Yumbo McGillicutty!


Sunday, December 18, 2011

Mamá's Pan Dulce (Panettone)


My mother died twelve years ago.  It’s strange:  in those twelve years there have been hard times when I’ve hoped and prayed for a sense of her presence and received nothing.  And times when I’ve not consciously wanted any such thing and unexpectedly been given it.  So obviously, the subtleties of communication with passed-on loved ones are totally lost on me.  When I don’t want to leave it to chance, when I want a shortcut to connection and memory and loving vibes, I open up Ma’s cookbook and cook.

Opening up Ma’s cookbook is invariably a bittersweet experience – particularly seeing her beautiful strong script before infirmity made her elegant hand shaky – but nonetheless curiosity always gets the better of me.  It isn’t just a cookbook, but a book where she jotted down all kinds of things, including clothing designs and the measurements of the women she was making them for.  This means, alas, that I know what my measurements were back in 1985.  Dammit!  Not all tears are for you, ma!

But I digress.

It is the time of year when I open up her cookbook and make her recipe for pan dulce and give thanks.  In Spanish, pan dulce means “sweet bread”, which means that throughout the Spanish-speaking nations you will encounter all kinds of sweet breads called pan dulce.  In Argentina, however, it only means one thing:  the traditional sweet Christmas bread that the myriad Italian migrants brought with them.  Panettone.


Homemade panettone bears only a passing resemblance to the (admittedly tempting on account of the fancy packaging) bought ones.  Commercial ones are airy and dry, with the occasional raisin for interest.  Made at home, they are rich, studded with fruit and nuts – particularly pine nuts – throughout, and most of all, fragrant.  The moment I combine orange blossom water, vanilla, and brandy, the combined scent, heady and exotic, rises up to my nostrils and I whisper, “It’s Christmas”. 

Despite the yeast, pan dulce/panettone is also a boon for the harried cook.  While we all know that fruitcakes and plum puddings need to be made at least a month in advance to mature and be at their best, panettone doesn’t.  It can be made the day you intend to eat it, or the day before.  Or a week before, and kept wrapped in cellophane.  Or six months before and frozen.  Leftovers are rare.  Any that don’t get snarfed make the world’s best French toast or bread pudding.


The instructions for this pan dulce/panettone are for a mixer, but it isn’t necessary.  This isn’t a particularly difficult dough to work, it’s just that because I usually make a minimum of six loaves, I’ve streamlined the process.  And I’ve streamlined the recipe, too.   You should hear the conversations I have had with Spirit Ma over her imprecise recipe:

“How much fruit, Ma?”
“As much as you like.”
“What do you mean?”
“As much as the dough will take.”
“Sigh… OK.  How many loaves will this make?”
“One.  Maybe two.  Or three.”
“What about the brandy?  The mazahar?  The vanilla?”
“Enough.”
“Of course.  How hot should the oven be?”
“The normal temperature.”

Death never stopped a person being frustrating.  Or providing you with the best darned Christmas treat you ever had.


**********


The fruit doesn't have to be perfectly spread, just relatively even.
When you've finished rolling, folding, and rolling and folding again, the fruit should be evenly distributed throughout.  Remember:  each mouthful must contain tidbits!
The scaled balls of dough in their giant paper cases.  I actually imported these, which yes, makes me a little insane since carrying them as hand luggage through a 14-hour flight without them crushing is the stuff of which Hollywood blockbusters are made.
Slashed and brushed with eggwash (yes, you're right, I need a new scalpel).

Behold!  Burnished perfection.


MAMA’S PAN DULCE (PANETTONE)
A word on the “fragrances”.  First, the brandy:  while it gives a particular flavour, the brandy’s real role here is to react with the yeast and give it a boost.  This is much needed since this is a dough rich in butter, sugar, and eggs, which affects a dough’s ability to rise.  (No, you cannot use extra yeast:  it’ll just taste yeasty and overferment the dough, giving you a dry, and crumbly loaf.)  Next, the orange blossom water (mazahar):  I have used a lot here, but depending on the quality, you may need to use a lot less.  As a rough rule, the smaller the bottle, the stronger it is.  If you buy yours in tiny 50ml bottles that cost you a decent amount of cash, you may only need half as much, but my big 500ml bottle isn’t that concentrated.  On no account, not EVER, substitute orange extract; use the zest of an orange, instead (but make it a point to find mazahar before Christmas next year). 

Makes 3 loaves

Ingredients:
1 kg. flour, plus a few tablespoons for the fruit
2 1/2 tsp. instant yeast
1/4 tsp. salt
150g. sugar
150g. butter, softened
3 eggs
1 cup warm milk
1 tbsp. brandy
1 tbsp. orange blossom water (mazahar)
1 tsp. vanilla essence
500g. mixed dried and candied fruit, and nuts (see below)
Eggwash
1/4 cup melted butter, extra

What you do:
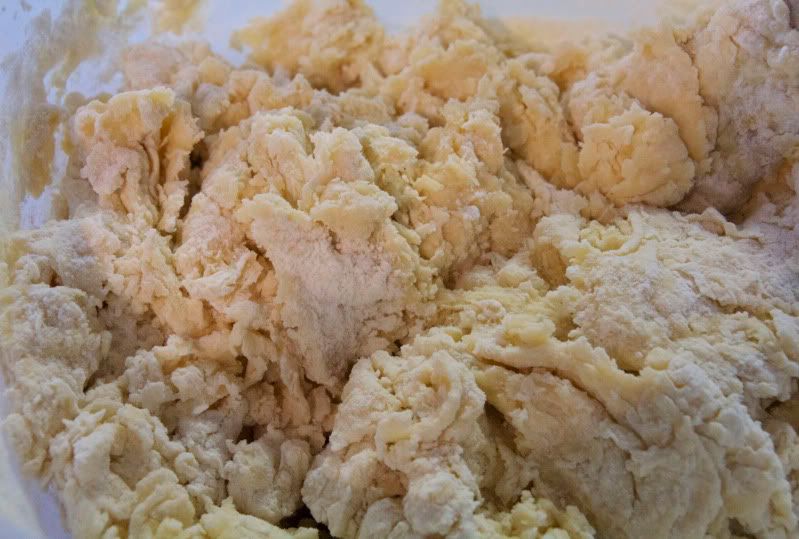
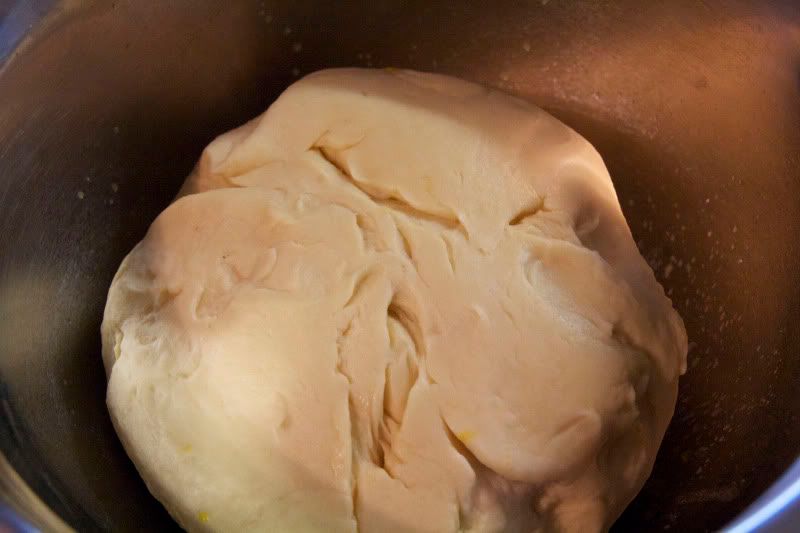
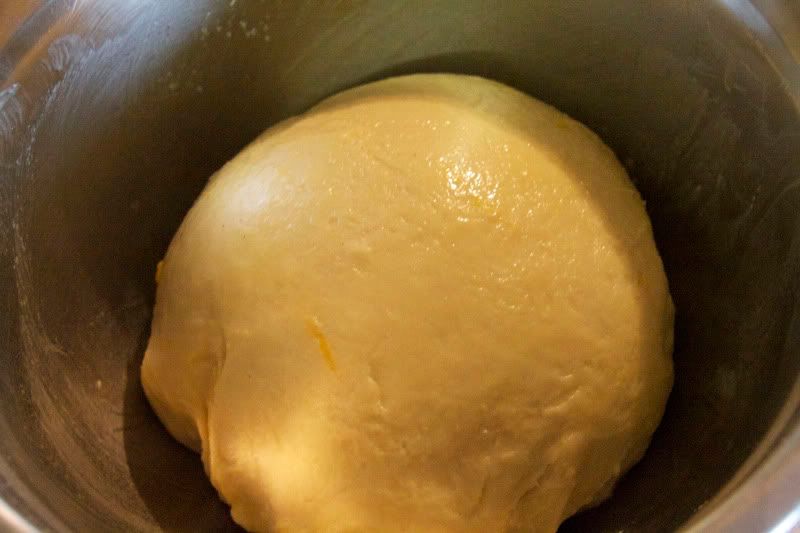
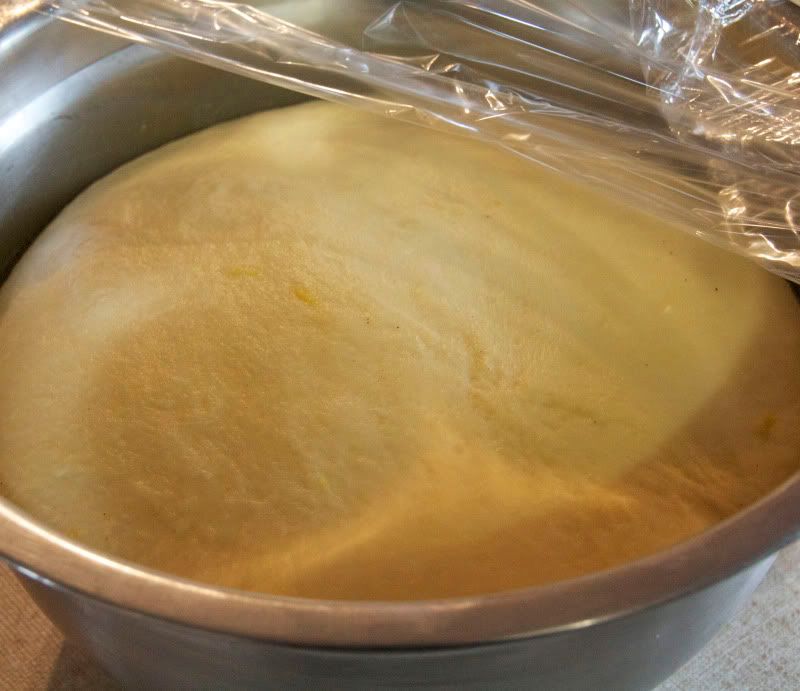
1.  Place flour, yeast and salt in mixer bowl.  Give a few turns with the K beater.  Add sugar, and give another few turns to combine.  With motor running, add butter.  Mix until butter is mixed in.  Add eggs, milk that has been mixed with brandy, orange blossom water and vanilla, and enough water to make a soft dough.  Replace K beater with dough hook, and knead for 5 minutes.  Place dough in a greased bowl, cover, and allow to rise in a warm place until doubled.
2.  Toss mixed fruit and nuts with flour.  This will allow them to disperse evenly through the dough.  Turn the oven on so that it is just barely warm.   (If you have a gas oven, the pilot light is enough.)  Tip dough out onto floured work surface and pat out flat.  Distribute fruit over the surface and roll up.  Roll out with rolling pin; fold in three, and roll out again.  Repeat this a few times to distribute fruit through dough.  Scale dough (see below) and divide in three.  Form dough into neat mounds and place in paper panettone moulds or tall greased pans.  Place in oven and allow to rise.  When breads are 3/4 of the way to doubled, slash tops with a scalpel or samurai-sharp knife, and brush carefully with eggwash.
3.  Place breads in warm oven and crank it up to 180oC.  (This method of only partly rising and putting into gradually heating oven givens oven spring like nobody’s business – trust me.)  Bake 30 minutes, until risen and lightly golden.  Drizzle with melted butter and bake another 15-20 minutes, until tops are deeply coloured and breads sound hollow when tapped on the base.  Cool on wire racks completely before serving.

NOTE:  The fruit and nuts you use are up to you, but you should include some glacé/candied fruit, lots of pinenuts, and chopped walnuts or pecans for bite.  “Scaling” is a fancy term for weighing out individual portions of dough to get a consistent size.  To scale these loaves, I weighed the dough (it was about 2.4kg) and divided that number by three (800g).  I divided the dough in three and weighed each portion to make sure it weighed 800g.  Behold, three loaves the exact same size.

Yumbo McGillicutty!

Tuesday, October 18, 2011

Cake for when you're blissing


My Baby and I love and adore our combined brood, but every second weekend when they’re all away it’s just all about us being into each other.  We do stuff together and kinda bliss out and have many a smug moment about how lucky we are.  Oh, it’s pathetic.

So anyway.  Last weekend after we’d blissed out and blissed out some more, I announced, “I feel like making cake!”  The cake I was thinking of making was one I hadn’t made for many years, but daydreamed about on a regular basis (also pathetic), and this was the day.  But that’s not what’s important.  Take note:  the fact that this is the cake I wanted to make on a day when I was blissing out tells you pretty much all you need to know about this cake.

The essential accompaniment to this cake, other than bliss, or even just a bit of a knockabout mood, is not tea or coffee but a glass of milk or a cup of excellent, thick hot chocolate made with actual chocolate and not some dubious powder out of a packet.  In fact, the traditional, Mexican way of eating this cake is to dunk it with your fingers into aforementioned cup of excellent hot chocolate.  Heck – if you weren’t blissing out before you made the cake you’d have to be after that.


MEXICAN CINNAMON CRUMB CAKE
Take care: there’s a few steps involving dividing ingredients or setting ingredients aside.  But it’s still simple and so worth it.
(1 large cake or 2 regular cakes)

Ingredients:
560g. flour
375g. sugar
1/4 tsp. salt
245g. butter
2 tsp. cinnamon
4 tsp. brown sugar
2 1/2 tsp. baking powder
2 eggs, lightly beaten
1 cup milk


What you do:
1.  Grease and flour two square cake pans or one slab pan.  Preheat oven to 190oC.
2.  First, make the crumb mixture.  In a large bowl, mix together 375g. of the flour, the sugar, and the salt.  Rub in 185g. of the butter.  To make the topping, take 1 cup of the crumb mixture and add cinnamon, brown sugar, and remaining flour.  Rub in remaining butter.  Set aside.
3.   Add baking powder, eggs and milk to remaining crumb mixture, and beat well.  Turn mixture into prepared pan/s, and sprinkle over the topping.  Bake 25-30 min, until cooked when tested.  Cool in pan on a wire rack.  Serve cut into thick squares.

Yumbo McGillicutty!

Friday, September 30, 2011

Of cakes, tradition, and competition


Tomorrow is Phoebe’s birthday, which makes this my second birthday outing as a stepmother.  It gives one Pause.

Blended families are interesting organisms, and particularly interesting are the times when you realise the blend includes two different sets of traditions for every special occasion from Christmas (celebrated on the 24th for ours, celebrated on the 25th for them) to birthday mornings (gentle and loving for them, many fists pounding on the bedroom door while Birthday blasts out of the stereo for ours).

One tradition that My Baby and his babies came with was the birthday cake:  a mildly spiced and fluffy Texas sheet cake that they go on bended knee for.  Made by the girls’ mum.

Now.  To explain my attitude towards this cake, I need to reminisce about my own previous marriage.  My ex-husband’s mother was never known – at least, by her own son – as much of a cook, but one of my ex-husband's favourite foods on the whole damned planet was her cheesecake.  He loved it, and she was generous enough to share her recipe, with annotations, with me.  I made it once, perfected it the second time, and then it occurred to me:  “What the heck am I doing?”  Here was this woman, not at all confident in the kitchen, who made this one thing her son absolutely adored, and I – oh, dauntless professional cook! – was about to take it away from her.  As I said to my husband at the time, “Just because I can cook just about anything, that doesn’t mean I should.”  She was alive and kicking and still able to delight him with her cheesecake, so I stopped making it.  Her recipe is in my hand-written recipe book.  It’s an important part of family history, and my daughter made a cheesecake to her grandmother’s recipe for her father on Father’s Day a few weeks ago.

So it was a given that I was never going to make that sheet cake.  The whole point isn’t, after all, to try to recreate the girls’ usual birthday experiences, but create fresh ones of our own.

And so on to the cake.  That it has to be chocolate is a given, and because of my own roots, its filling is also a given:  dulce de leche.  Some proper chocolate frosting, and that’s it.

Much as I love to bake, I’m not a natural cake baker and like Laurie Colwin, I too like “a cake that takes about four seconds to put together and gives an ambrosial result”.  When I want chocolate cake, nine times out of ten, this is the cake I make.  This, along with The Cake of Deliciousness, is the quickest, easiest cake I know.  No creaming, no beating, no folding in of egg whites.  And the results are light (not fluffy), beautifully moist, with a toothsome crumb and intensely chocolatey flavour that is rare even for many cakes that contain actual chocolate.

That it is so rich and chocolatey is mystifying because this recipe was developed during the Depression (when it was known as Crazy Cake) and so frugally contains no butter, milk, eggs or chocolate, but you would never know.  This is an excellent chocolate cake even if you’re filthy rich and can afford to decorate it with gold leaf and have it served to your girlfriends by Pedro, the fig-leaf-attired houseboy.

Hmmm.  Maybe when Phoebe is a little older.

Almost certain:  this cake will have cracks in the top.  That's the lack of eggs for you.  That's why…

… you flip it upside down.  And any smaller cracks can just be...

… frosted over.  You won't get any complaints.

The Easiest Chocolate Cake I Know
(makes 1 large cake)

Ingredients:
Dry ingredients –
3 cups flour
2 cups sugar
1/2 cup cocoa (unsweetened if in the US)
2 tsp. bicarbonate of soda (baking soda)
1 tsp. salt
Wet ingredients –
2 cups water
3/4 cup vegetable oil
2 tbsp. white wine vinegar (see note below if this flummoxes you)
2 tsp. vanilla essence

Method:
1.  Prepare a large cake tin or pan by brushing with Baker's Secret, greasing-and-flouring, or greasing and lining with parchment.  (If you intend serving the cake from the pan, you can just leave the pan as is.)  Preheat oven to 180oC.
2.  Thoroughly combine all dry ingredients in a large bowl.  Add wet ingredients, and stir until dry ingredients are moistened.  Pour into prepared tin or pan and bake until cooked when tested.  (Shallow pans will require 30-40 min., deeper ones 45-60min.)  Carefully unmould onto a wire rack to cool.

A note for those of you who may be nervous about the vinegar: here is a crash course in food science. For a cake to rise, it needs an alkali, and an acid. When the alkali and the acid combine, they react with each other, giving off carbon dioxide, and so gas, bubbles, rising cake.  This is the way that all cakes other than yeast cakes rise.  The alkali/acid combination is there in baking powder (already mixed for you), and in recipes that call for baking soda (alkali) and, say, cream of tartar (acid). In this case, you have baking soda (alkali) and vinegar (acid). You won’t be able to taste the vinegar – promise.

Yumbo McGillicutty!


Thursday, February 3, 2011

THE CAKE OF DELICIOUSNESS!


Have you ever bought something for a pittance, and then it turns out to be one of the best things you’ve ever bought?

It happened to me with Home Cooking, by Laurie Colwin.  I found it about twenty years ago on a bookshop’s remainder table for $2, and took it home.  Remainder tables prove either one of two things:  that a lot of crap gets published, or that book buyers are idiots.  As soon as I started reading Laurie Colwin’s book – a collection of essays dotted with recipes, written at a time when blogs did not exist – I knew that the point that had been proven was the latter. 

Colwin’s intimate, friendly tone pulled me into the book like an embrace, and I was hooked.  And continued to be hooked, for I read this book too many times to count in the twenty years that followed.  And I didn’t do it for the recipes, which I only ever cooked a few of.  Like other lovers of this book, I did it for the writing.  And I did it because the more I read it, the more she became my friend.  Opening the book was like entering her SoHo apartment, flinging my coat off, and having Laurie talk to me while she prepared something that, to paraphrase the woman, I didn’t know I wanted but was exactly what I wanted.  “Some books are like coming home,” said Gillian Armstrong’s Jo March, and this is exactly what I felt, which would have given Laurie Colwin a kick, because it’s exactly how she felt about old cookbooks.

What really sucks about Laurie Colwin is that she died too young.  And when I found out she did, I was devastated.  Moreover I found out that she was dead years after the fact – she died pre-Internet (at least Internet For Me), and the newspaper didn’t think her a writer worthy of enough note to write an obituary – so my grief was retrospective.  I think this would probably have given her a bit of a kick as well.  But at this time I learned why I loved her cookbooks so much:  they were her only non-fiction forays in what was a highly regarded (albeit cultish) career writing fiction.  The skill with which she created the tangible worlds in which her fiction took place was the same with which she created her paper kitchen.  I was not her only fan, and many of her fans would also consider her a friend, just as I did.

Shortly before she died, Laurie Colwin opened the door to her kitchen once more and published More Home Cooking:  A Writer Returns to the Kitchen.  So I bought it a couple of weeks ago and I’m reading it and laughing and getting a tear in my eye because with every word, I feel she’s telling me, “Welcome back!”  And I am glad to be back.  Once again it’s just Laurie and me, and she’s telling me about her life, and travels, and friends and family (many of whom have shared recipes for this book), and handing me a slice of this pie here, and all is well with the world.

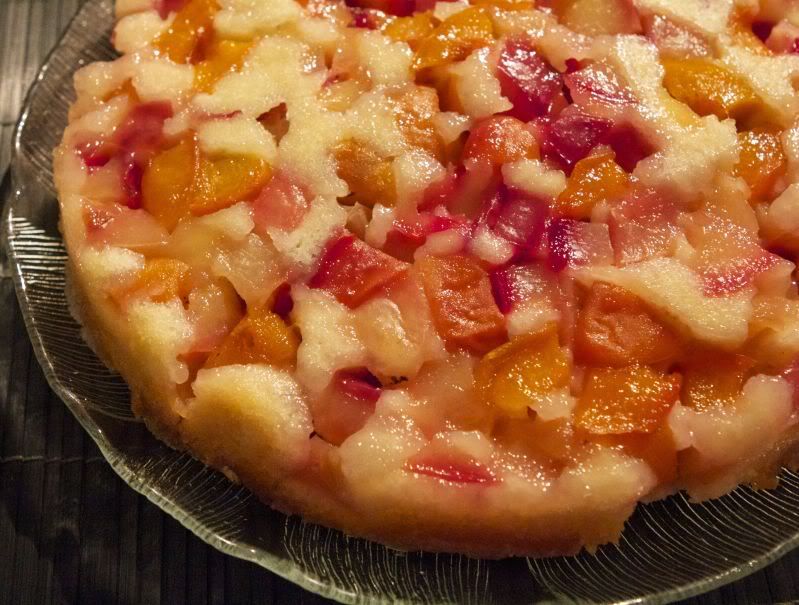
The pie in question isn’t a pie at all, she says, but a cake.  And it’s from Nantucket and made with cranberries, but mine is from Melbourne and made with ripe white nectarines and apricots.  And the original recipe isn’t from Laurie Colwin, but her friend Ann Gold, who got it from her mother, who doesn’t know where it originally came from.  This makes sense, because as Laurie Colwin herself said, without a cook giving another cook a friendly hint or two, the human race would have died out long ago.

So I had very, very ripe white nectarines and apricots to use up.  And I wanted something simple but delicious.  On top of it all, it had been a stinking hot day and although I was keen to bake something, I wanted no banging around, and for the oven to be on for the minimum time.  Laurie Colwin told me that she herself likes “a cake that takes about four seconds to put together and gives an ambrosial result”, and this was the recipe, which I adapted slightly (her recipe uses cranberries and walnuts, one less egg, and almond essence).  It was, as she said, a snap.

When I took it out of the oven, I sighed.  When I unmoulded it, I proclaimed myself a genius.  And when my eager Baby asked me what kind of a cake it was, I announced that it was The Cake of Deliciousness!  (To say this properly, you need a bit of Invader Zim megalomania and phrase it thus:  “THE CAKE!  OF!  DELICIOUSNESS!”)

Although cold leftovers were good the next day, this cake is best served warm or at room temperature, however you like.  Laurie Colwin advises:  “If you wanted to do some lily-gilding, you might put some vanilla ice cream (or crème fraîche or, if you have tons of time, custard) on the side, but Ann Gold serves it straight, which is, I feel, the best way.”

So do I.  Thanks, Laurie.  See you soon.


THE CAKE OF DELICIOUSNESS

Ingredients:
Soft fruit, as needed (see below)
1 1/2 cups sugar
3 eggs
3/4 cup melted butter
1 cup flour
1 tsp. vanilla essence

What you do:
1.  Preheat oven to 180oC.  Chop enough soft fruit to make 2 1/2 cups.  (Laurie Colwin says the charm of the dessert is the contrast of the tart berries with the “smooth, sweet, buttery cake”, but my white nectarines and apricots were sublime.)
2.  Butter a pie dish or cake pan, or brush with Baker's Secret, then sprinkle over 1/2 cup of the sugar.  Scatter fruit on top.
3.  Mix the eggs with the remaining sugar, butter, flour, and vanilla essence.  Stir until smooth – no need to beat.
4.  Pour batter – it will be thick – over fruit, spreading it carefully.  There will be a high fruit-to-batter ratio and this, my friends, is what makes this cake so spectacular.  Bake for 40 minutes, until set and just getting golden around the edges.  Allow to cool for 5-10 minutes, run a knife around the edge, and unmould upside down onto a pretty plate.  Announce that you are a genius and that this is THE CAKE!  OF!  DELICIOUSNESS! and serve warm or at room temperature.


Yumbo McGillicutty!

Tuesday, September 28, 2010

She's got great buns: Thumbprint Buns, that is.

Over the past few months, my part of Oz has been ridding itself of a drought that has been ongoing since 1995.  That’s why you can’t really resent the rain.  Or shouldn’t, not if you don’t want to be labelled shallow and callous.  But the sun actually came out the day before yesterday, and it was warm, and sunny, and I joyfully ventured forth into The Great Outdoors, ie. my backyard.

It turned out that my backyard has, alas, turned into an alien and hostile place, thanks to complete neglect over, ooh, say, five months or so.  I know, I know, but it’s been raining every single day, all right?  But all this would change, I vowed as I hacked my way through the undergrowth with a machete and waved at Tarzan as he swung by on a vine on his way home to Jane and Tarzan Jr.  There would once again be Lawn.  And the scent of herbs instead of dog poop in the air.  Tomorrow, I vowed, we would Clean Up the Backyard.

The next day, of course, it rained. 

But rather than resent the rain (see shallow and callous, above), I settled in for a rainy day timetable:  an old Hollywood musical (On the Town for the win!), the blanket I’m crocheting, and my younger son’s favourite jam buns.

Jools has been at me to make these for a while now, but I’ve neglected baking with yeast for a while, so he’s been missing out, but today was his day. 

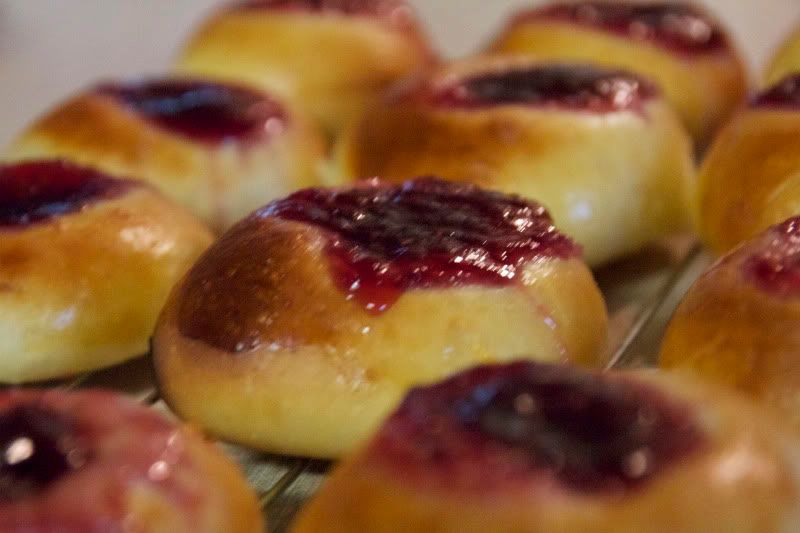
These little buns, with their sweet jam centre, are reminiscent of thumbprint cookies, hence the name.  They are a great favourite with children, but don’t let that fool you:  they are delicate in texture and flavour, and very, very light, and will make the most demanding adult palate happy.  The dough is not too sweet, so as to be a good foil for that mother load of jam.

I like these jam buns warm, but be careful that they are not hot:  the jam filling when they come out of the oven is molten hot lava.

Recipe below.


Despite the numerous pictures in this post, yeast baking is simple, and has been made infinitely more simple by instant yeast.  Honestly – I have no idea why compressed and fresh yeast even exist any more, let alone why anyone would buy them.  When using instant yeast, all you need do is add it to the dry ingredients – that’s it.


Whisk wet ingredients together.  This recipe calls for hot milk, but by the time you’ve whisked it with the remaining ingredients, it’ll be the right temperature for the yeast.


Add wet ingredients to dry, and stir with a wooden spoon until it just comes together.  If using an electric mixer, use the paddle or K attachment.


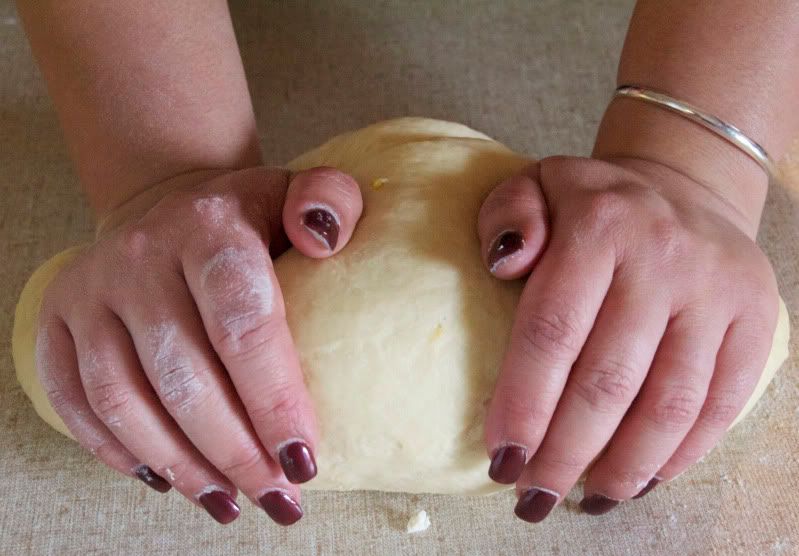
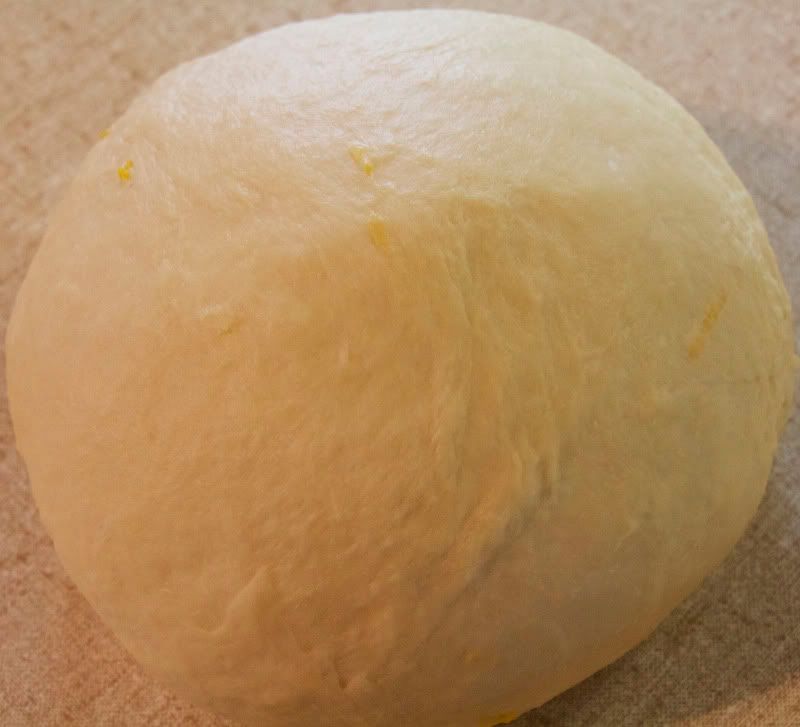
Turn your lumpy mixture onto a floured surface for the fun part:  kneading.  You’ll need to sprinkle the surface a couple of times with flour, but after a while it won’t stick to the surface any more.  If using a machine with dough hook, give it about 4-5 minutes, but if kneading by hand, give the dough 8 minutes by the clock.  There is a technique to kneading, but really, all you need to do is develop the gluten, and all that requires is gumption, so whatever you do to the dough, don’t be gentle.  After the kneading time your dough will be elastic and springy and…


… smooth as my baby’s bottom.  I mean a baby’s bottom.  Ahem.


Time to rise the dough.  This has to be done in a greased bowl, and this is the easiest way to grease it.  Get a puddle of melted butter or oil in a bowl that will comfortably hold 2 1/2 times the volume of dough.


Put in the dough, smooth side down.  Grab the dough by the ugly side, and wipe the inside of the bowl with the smooth part of the dough, which is now coated in butter or oil.


Flip the dough smooth side up again, cover with plastic wrap or floured cloth, and allow to rise in a warm place until doubled.


How long dough takes to rise depends on a few variables, but this batch took about an hour or so, in my oven which was just turned on.


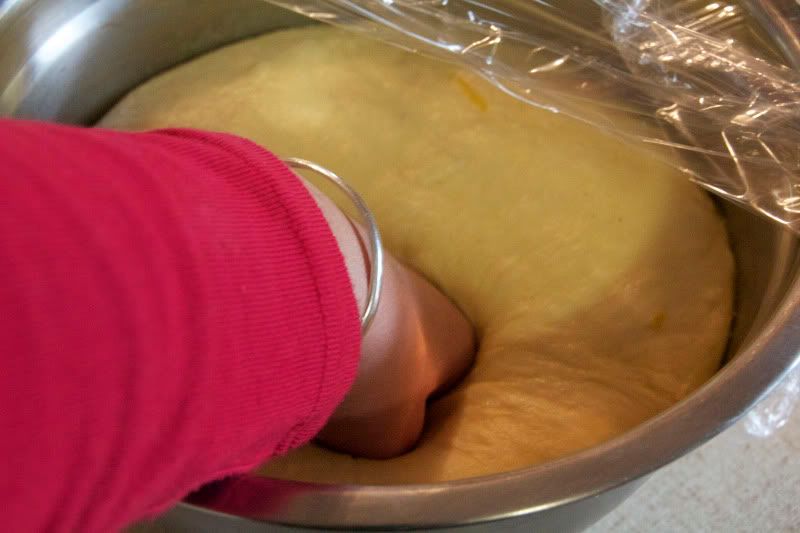
Knock (punch) the dough down.  Satisfying.  Divide the dough into 36 pieces, to make 36 buns.


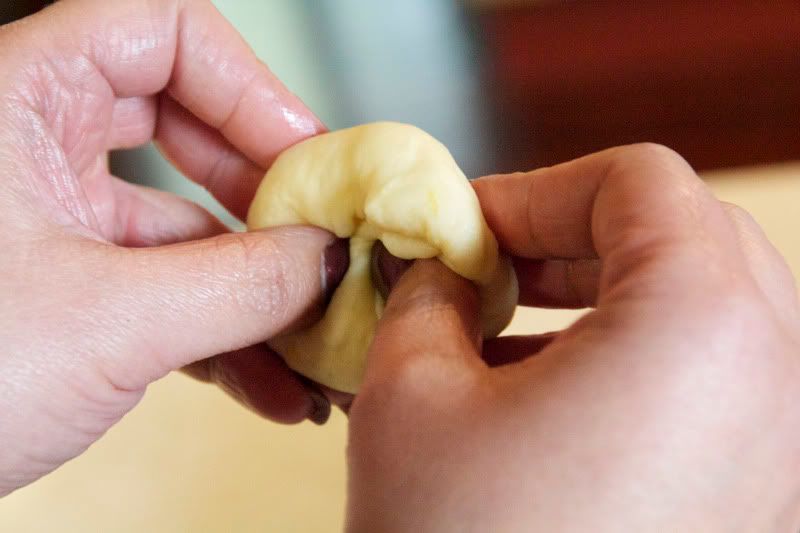
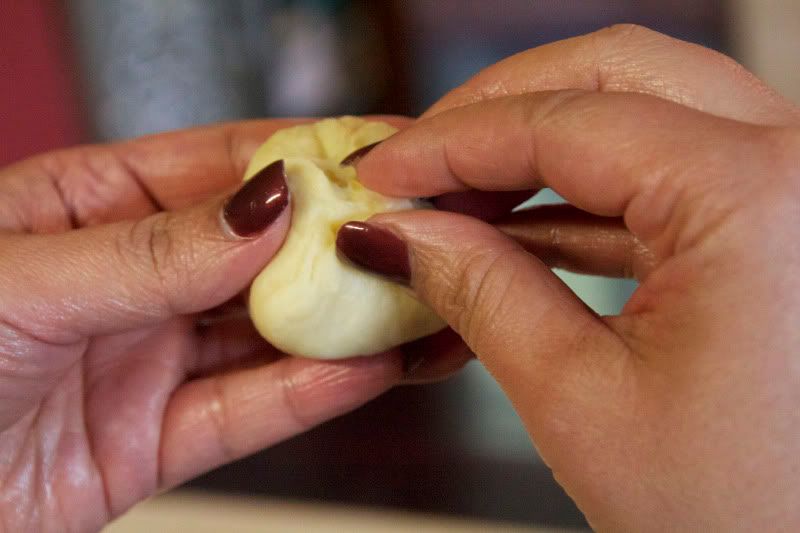
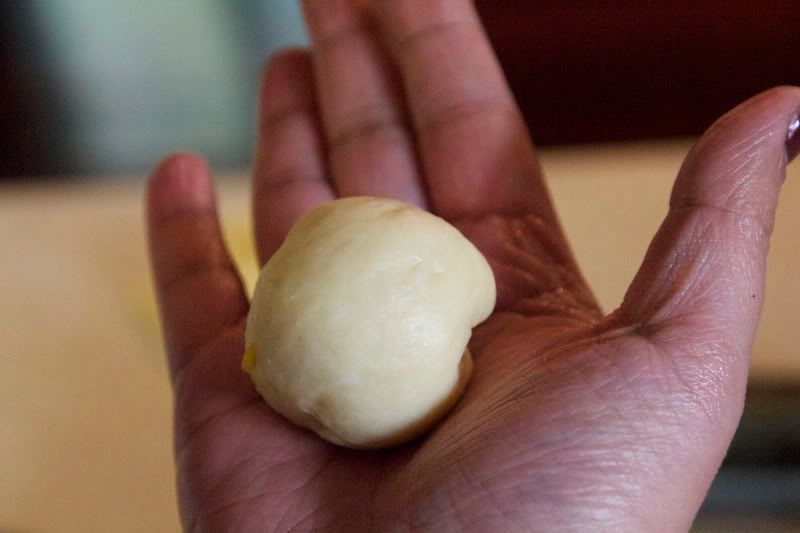
Now to form the buns.  This is my ma’s technique, which quickly and easily gives smooth tops, and I hope to be able to explain with a couple of pictures.  This is a folding technique.  You get a piece of dough, form into a rough ball, then basically smooth the top with your fingers while tucking it underneath with your thumbs.  Do this a few times.


Pinch the bottom closed.


You’ll now have a smooth ballish shape.  Shape a little more with cupped hands if you like.


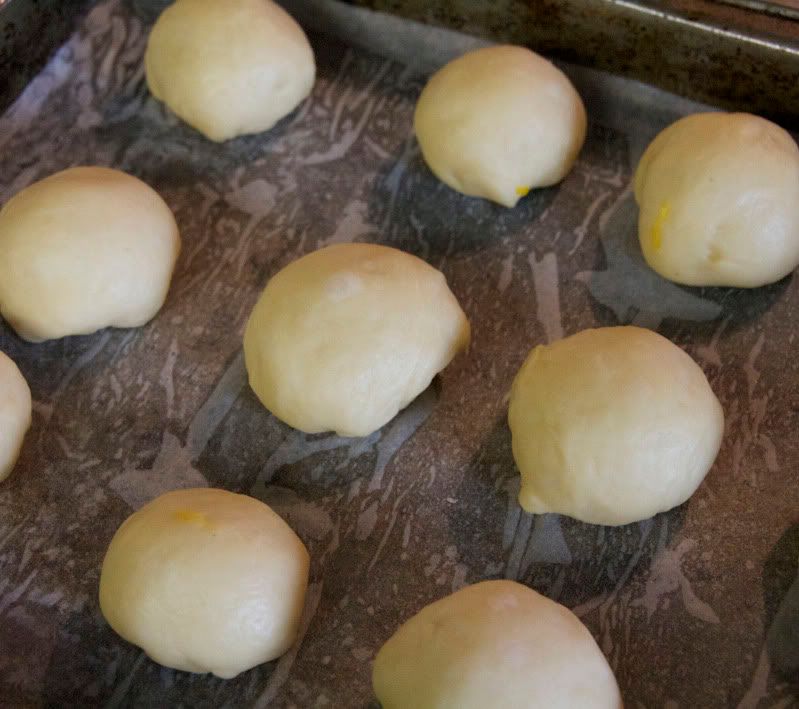
Place on greased or parchment-covered pans and allow to prove until almost doubled.  Now – this is important:  NEVER allow shaped breads and rolls to completely double before baking.  Yeasted goods continue rising when you put them in the oven (“ovenspring”), and if your rolls are already doubled they’ll overrise… and then go flat.  Flat in a yeasted item is not good:  it means overfermented, hard, dry, and crumbly.  Three-quarters of the way to doubled is about right.


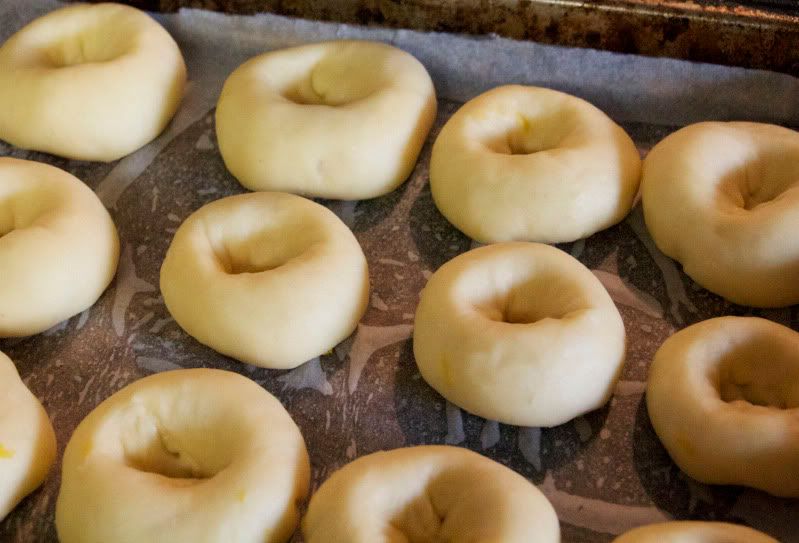
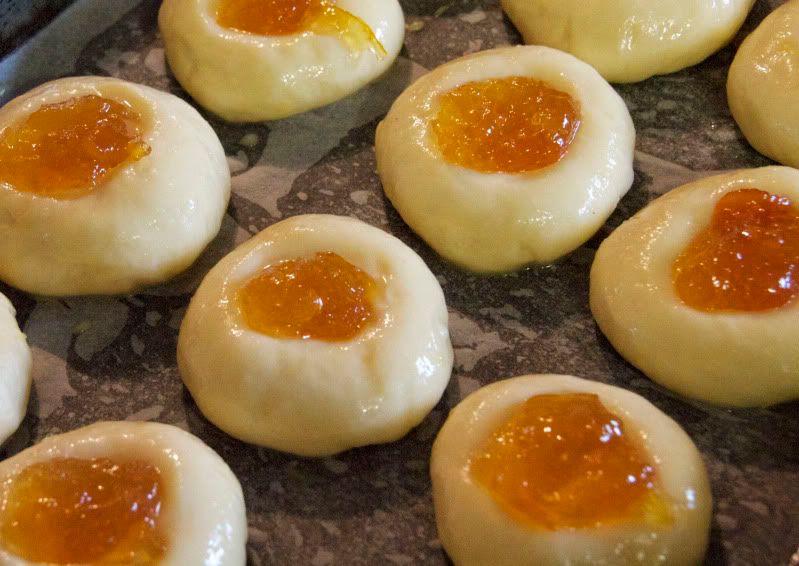
More fun:  make deep indentations with your thumb in each bun, brush with egg white


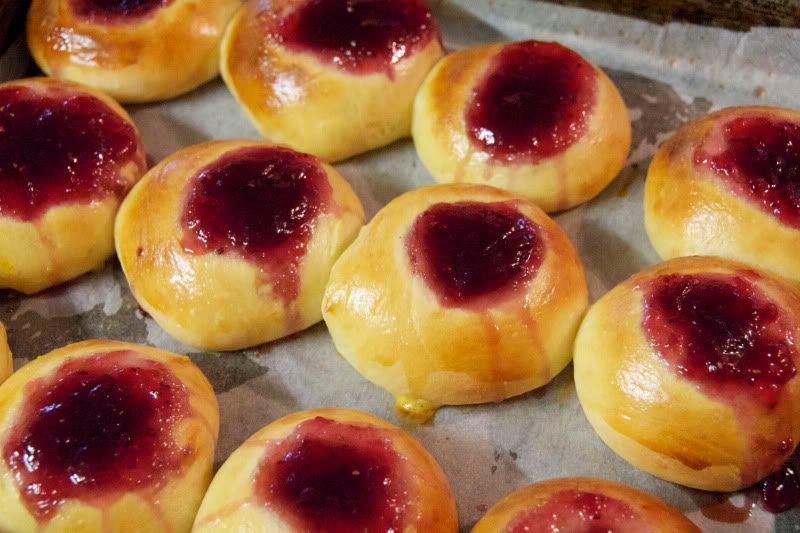
… and fill each one with a teaspoon of jam.  Raspberry in these…


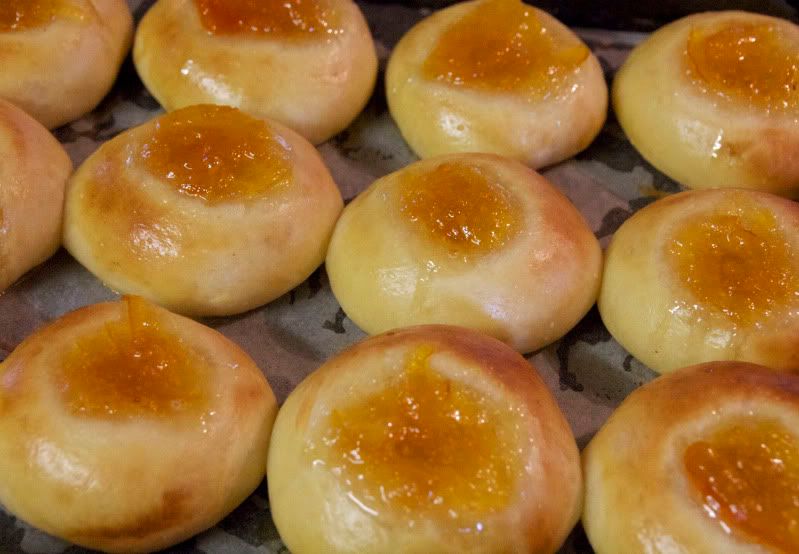
… and homemade Seville marmalade in these.


Bake in a hot oven for 10-15 minutes until golden.


Tempting, but don’t touch just yet.  Remember:  molten hot lava.


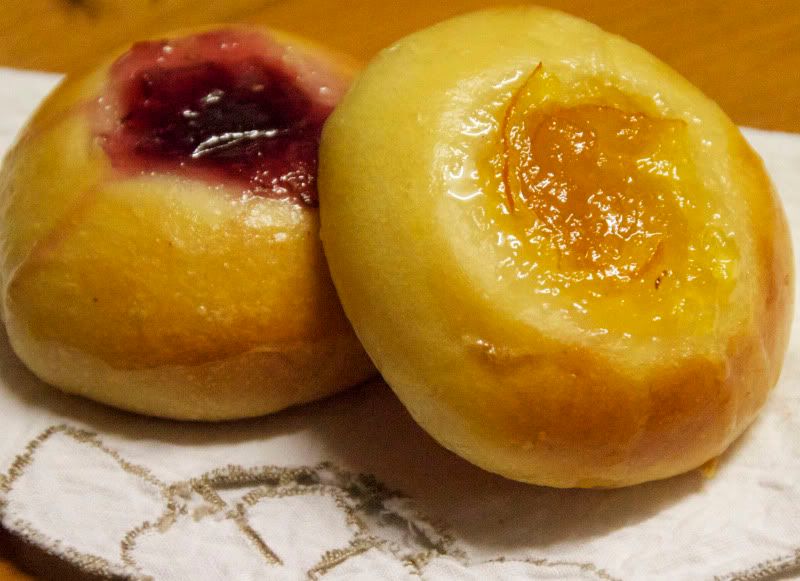
Cool to warm and eat.  Two at least, with a glass of milk.  Yumbo McGillicutty!


THUMBPRINT BUNS
Makes 36 buns

Ingredients:
5 cups strong unbleached flour
3 tsp. instant yeast
1/2 cup sugar
1 1/2 tsp. salt
grated zest of 1 lemon
1 cup plain nonfat yoghurt
1 cup hot milk
1/2 cup melted butter
2 eggs, separated
Jam, desired flavour

What you do:
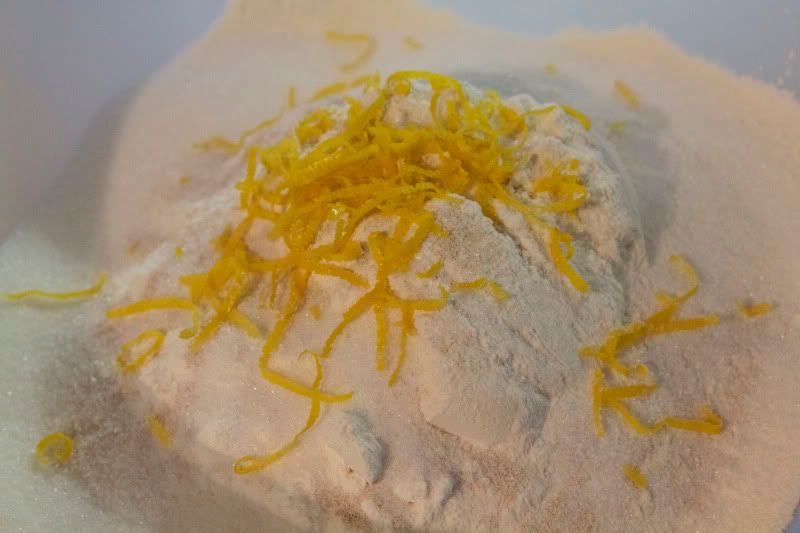
1. Combine flour, yeast, sugar, salt, and lemon zest in a large bowl.
2. Whisk together the yoghurt, milk, butter, and egg yolks. Add to dry ingredients, and stir to combine. Knead by hand for 8 minutes, or by machine with  dough hook for approximately 5 minutes, until smooth and elastic. Put dough in a greased bowl, cover with oiled cling film, and allow to rise until doubled.
3. Knock down dough, and divide in three equal portions. Roll each portion to form a thick sausage, and cut each sausage in 12. Shape pieces into smooth balls, and place on lightly greased baking pans, about 2 in (5 cm) apart.
4. With your thumb, make deep depressions into the centre of each bun. Brush buns with beaten egg white, and fill depression with about 1 tsp. jam. Allow buns to prove until almost doubled, then bake in a 200oC oven for 10-15 min., until golden.

Friday, August 6, 2010

El Horno

Over 10 years ago I decided I was going to make my own earthen oven, and decided to record the adventure online. The site, El Horno (whose name a friend asked me to change because she said it sounded like porn) was very, very popular and the first port of call for anyone looking to do the same. I recently found the files for the site, which I'd programmed myself on our Commodore Amiga using HTML, without a template, and realised that it would still be a great resource for anyone out there who wants to build their own oven outside, or at least dream about it. So I've uploaded the whole shebang, more or less as originally written, to Blogger. Check it out. (And I promise that this is the last time in a while that I'll post something that mentions my mother.)