"A person cooking is a person giving: Even the simplest food is a gift."

Laurie Colwin

Tuesday, August 31, 2010

Tarty Tuesdays: Soufflé Tomato Tart

Savoury tartas, tarts, are popular in Buenos Aires, where I was born.  Every cook has his or her own versions of the tart (my mother’s was an onion one to go on bended knee for) and no wonder:  a tart can be posh, a tart can be homely, a tart can use just about anything in the pantry, ‘fridge or freezer, and a tart can be one of the quickest things to put together, particularly if you pick up a packet of pastry discos from the cold case at the supermarket.

But most of all, a tart is simple.  It has just three components, so repeat them after me, and remember them, because while there will be recipes here and elsewhere, a savoury tart is something you don’t need a recipe for:

- Base
- Filling
- Binding for the filling

The base is easy.  It can be pastry, bought or homemade, but it can also be thin slices of sturdy vegetables like fried eggplant, or a cooked rice crust, or just about anything you can think of that will hold a filling.

The filling is the main flavour of your tart.  What’s in the pantry?  A tin of tuna?  Sauté an onion, add that sucker to the pan with some chopped pimento, pepper, and paprika, and you have a classic.  What’s in the vegetable crisper?  Zucchini?  Fry them up with onion and oregano, and layer them with mozzarella over the base.  Leftovers in the ‘fridge?  Chop them up and mix them with your binding with additional seasonings and maybe some cheese, and diners won’t know that you’re showing them a rerun.

The binding is also easy although sorry, vegan friends, to get a filling that will hold together properly when cut, you need egg.  And sure not all fillings are meant to hold together, but when they’re not, I suggest a pie, instead.  Beaten egg - you don't need many, just two or three - can be poured over the filling, or you can beat those eggs together with milk or cream for a wobblier, more custardy filling.  That same filling will become feather light if, like in this recipe, you beat the egg whites first.

So give a tart a try.  What’s the worst that can happen?  Your filling won’t set?  Give everyone your best, most dazzling smile, and a spoon.

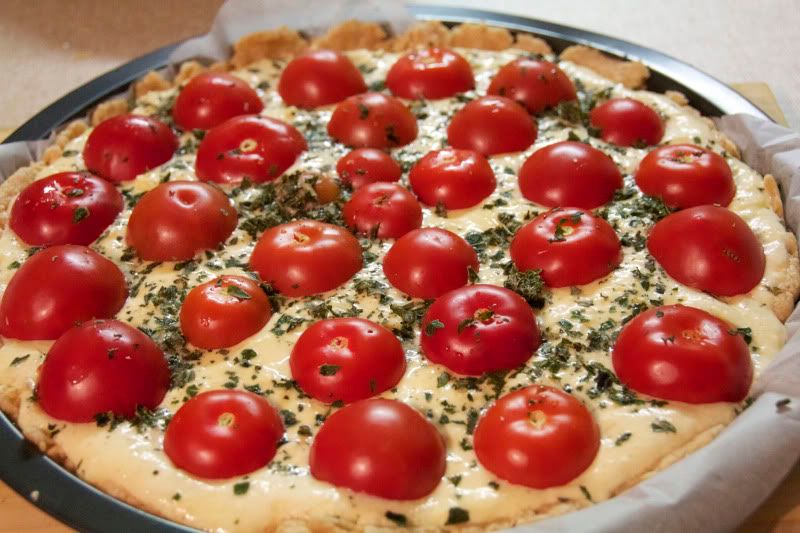
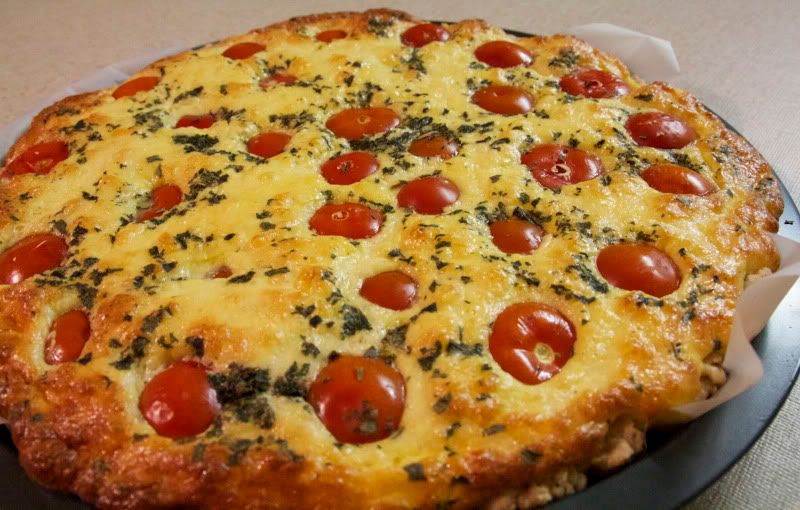
In the meantime, though, here is a recipe for one of our favourites:  soufflé tomato tart.  It smells, looks, and tastes divine, for very little effort.  The only caveat is that it is so simple that for it to be divine you must make it with beautiful ripe tomatoes that actually smell and taste like proper tomatoes.  I found these gorgeous little things at my local greengrocer and actually came to a screeching halt in front of them because smack in the middle of our southern hemisphere winter on a howling cold day, they smelt like summer.  I rushed them home and put the tart together in about half an hour, homemade pastry included, and we were eating it about half an hour after that.
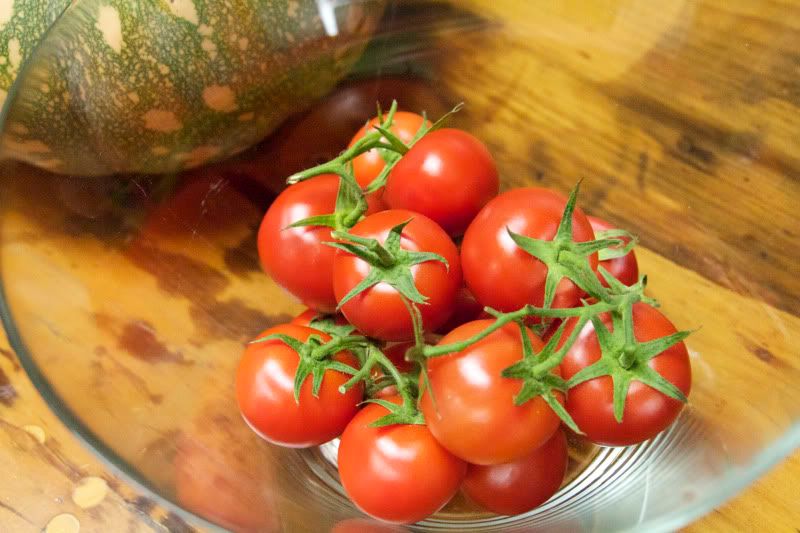
Perfect 'matas


SOUFFLE TOMATO TART

Ingredients:
Pastry to line tart/flan pan, bought or homemade (see below for Fatima’s ready-in-two-minutes crust)
1 kg. gorgeous ripe tomatoes, or as many as you need for the inside of your pan
1 cup proper egg mayonnaise or cream
3 eggs, separated
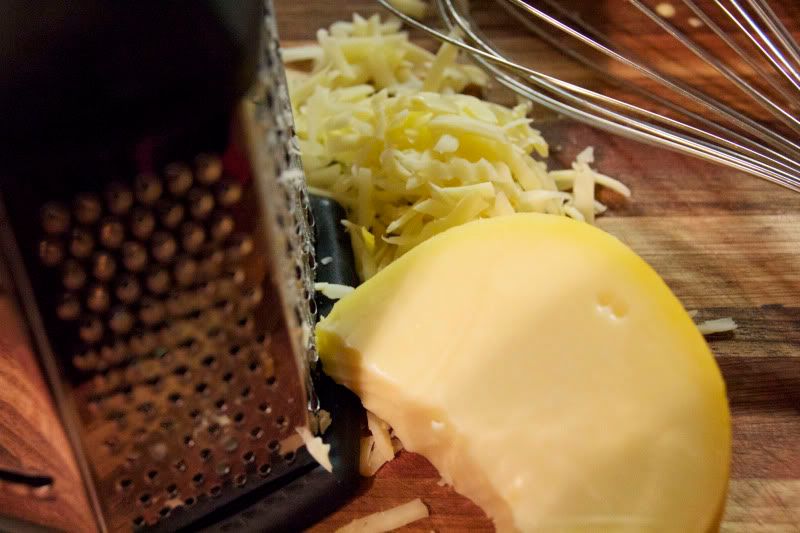
200g. cheddar (white cheddar in the US) or Swiss cheese, grated
2 tbsp. grated Parmesan cheese
salt and pepper to taste
Fresh herbs (opt.)

What you do:
1.  Preheat oven to 180oC.  Line tart/flan pan with pastry and allow to rest while making filling.  (If making Fatima’s crust, make it and line the pan with it before beating egg whites.  It’s best made just before baking.)
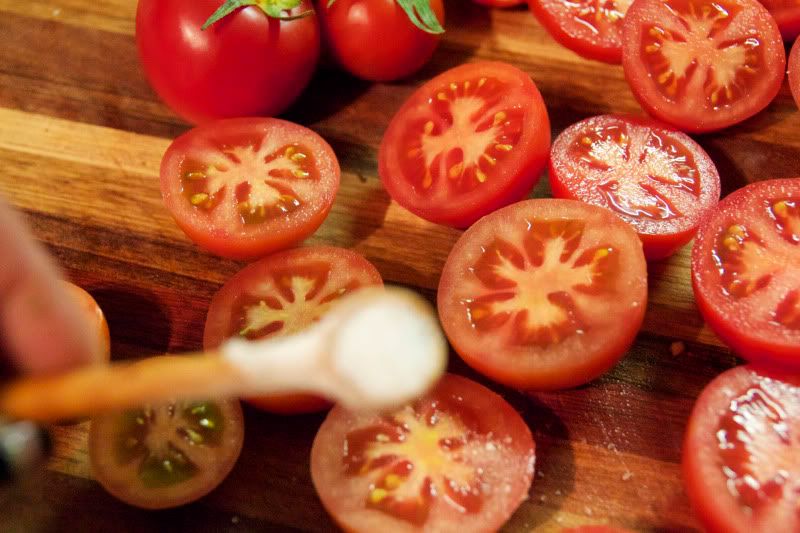
2.  Halve tomatoes if small, or quarter them if large.  Sprinkle lightly with salt.
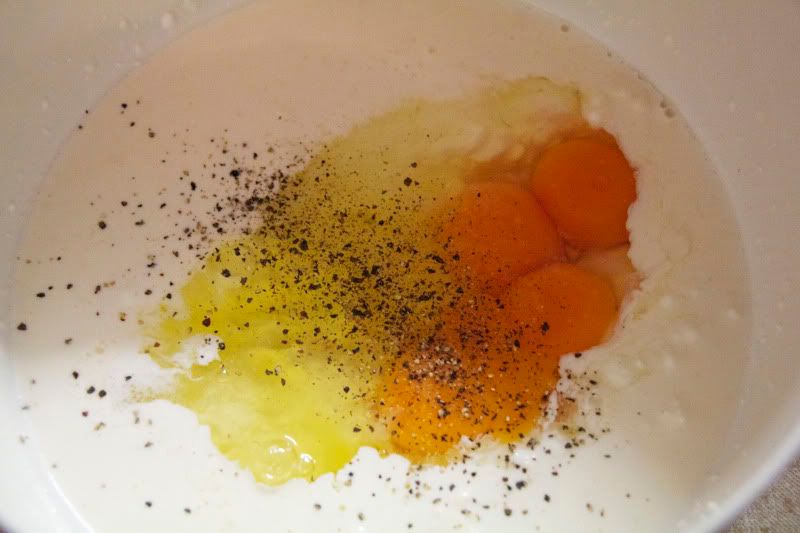
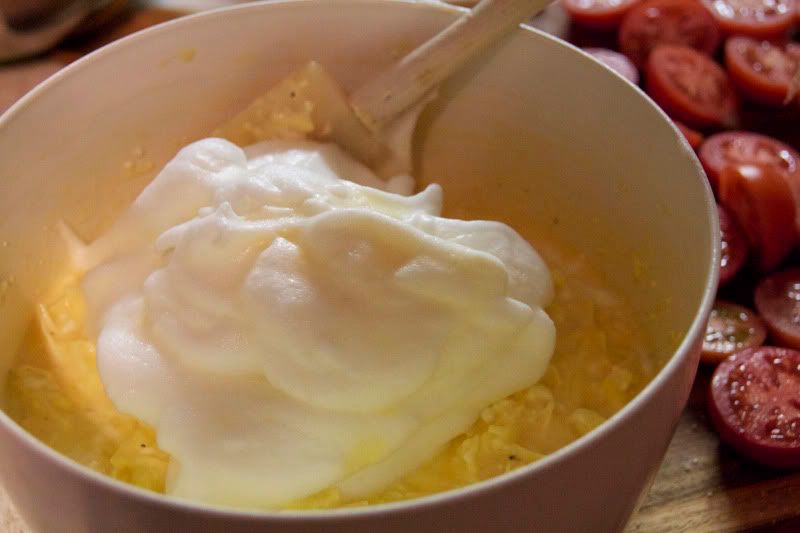
3.  To make filling, beat egg yolks with mayonnaise or cream.  Mix in cheeses, and salt and pepper to taste.  Beat egg whites until stiff, and fold into egg yolk mixture.
4.  Pour filling into pastry.  If using halved tomatoes, arrange them on the filling cut side down, and if using quartered tomatoes, arrange them prettily cut side up.  Sprinkle with chopped or torn herbs if using.  Bake for 35 min., or until set, risen and golden.  Serve hot (although cold leftovers for lunch the next day are FABULOUS).
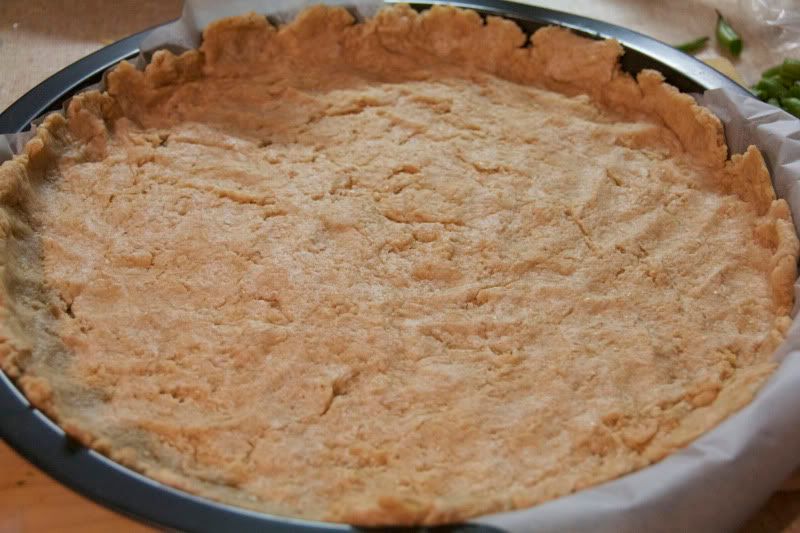
This is Fatima's easy crust, below.  I made it with
wholewheat flour, which made the guilt over all that cream,
cheese and egg yolks almost nonexistent.  My tart pan is
actually massive (I made 1 1/2 times the filling) and this
amount of pastry just lines it, hence no fancy crimping.

It's important to salt the tomatoes just before making
the filling, otherwise the salt will draw out too much of
the tomatoes' juices, making the filling sloppy.


This filling includes a couple of whole eggs because
I had some extra egg whites that needed using.


Repeat after me:  no Kraft!


Folding egg whites in will ensure soufflé success.


Sprinkled with fresh basil and ready to go in the oven.


The item in question.
Yumbo McGillicutty!

EASY TART CRUST – FROM FATIMA WITH LOVE
You can omit the baking powder, if you like, and use soda water instead of ordinary water for lightness.

Ingredients:
2 cups flour
1 tbsp. baking powder
1/2 cup vegetable oil
1/2 cup water

What you do:
1.  Combine dry ingredients in a bowl with a whisk.  Add wet ingredients and stir to form a ball.  Place ball of pastry on your pan, and spread out with your hands and fingers to cover the base and come up the sides.  (You can roll this pastry out, but I find it a bit of a pain unless it’s between two pieces of baking paper.) 
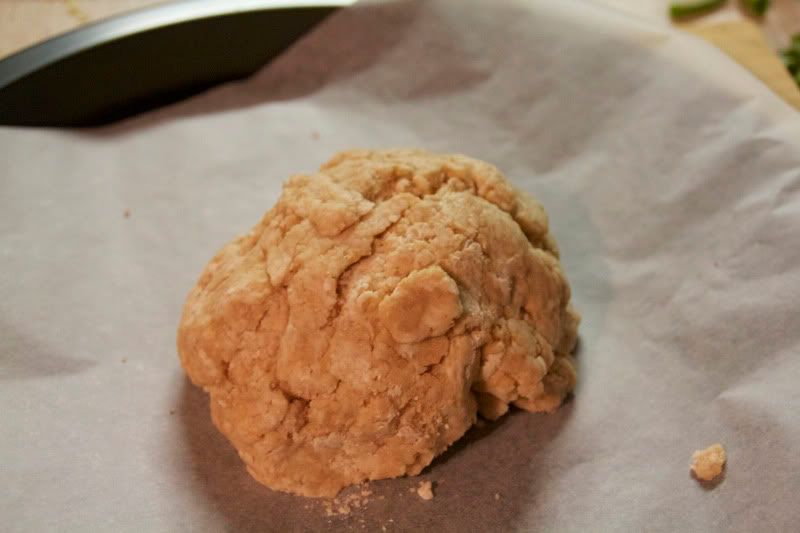
Unless there's Company, I don't bother with greasing my
pans and just spread a sheet of nonstick baking paper over
my pan before spreading it out with my fingers.
This batch was made with wholewheat flour.

Friday, August 27, 2010

Recycling Fridays: Chiffonade

It’s probably the most guilt-inducing vegetable to find at the bottom of the crisper:  wangy lettuce.

Why guilt-inducing?  Because it’s wangy, and can’t be used for salad, that’s why, and if you believe that salad and other raw treatments is all lettuce is good for, you’ll feel guilt.  You’ll throw it away, its limp, lifeless form an accusation, because in your heart you know it should be good for something, dammit.  It was not its time to go.

No, it wasn’t.  Because yes, you can add it to just about any recipe that asks for a cooked leafy green, and you can still turn it into a dish you’ll be happy to eat, such as petits pois à la Française, or lettuce blanched in chicken stock and sesame oil and drizzled with oyster sauce.  Or chiffonade.

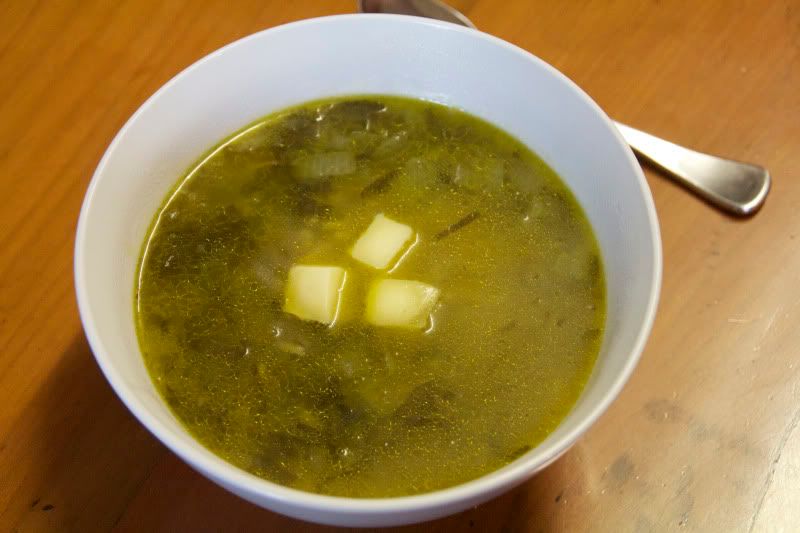
Chiffonade is a French soup, which probably means it hasn’t made an appearance in a cookbook for the last ten years, which is a pity.  It is delicious, and the perfect way to use up your wangy lettuce.  It also has a pretty, poetic name that describes how your lettuce looks after cutting.  Can you see the whirls, frills, and ribbons of chiffon?

I make chiffonade not just out of wangy lettuce, but the outer leaves of lettuce that some people find too robust for a salad, such as cos [romaine], and I’ve found that the darker the leaves, the better the soup.   And because we always have lettuce in the house, I can make it when the cupboard is otherwise bare, in under 30 minutes, to everyone's delight.  Other greens, such as silverbeet [chard] are also delicious in chiffonade, but if you use cabbage you won’t have chiffonade.  You’ll just have cabbage soup.


CHIFFONADE

Ingredients:
2 tbsp. butter
1 onion, finely chopped
lettuce
chicken stock
rice
salt and pepper to taste

What you do:
1.  Melt butter over medium-low heat and add onion.  Sweat, stirring often, until translucent.
2.  While onion is sweating, cut the lettuce into chiffonade.  To cut into chiffonade, stack a few lettuce leaves together and roll tightly.  Cut into very fine shreds.  Don’t hurry.  The onion is sweating and you have heaps of time.  (If you have a tight-headed lettuce, such as iceberg, there’s no need to roll leaves.  Just halve or quarter lettuce, place cut side down on board, and shred finely.)
3.  Add lettuce to onion, and stir until it wilts.  Add enough chicken stock to cover lettuce twice, and bring to the boil.  Boil as long as you like, but 10-15 min is enough.  Add a couple of handfuls of rice, and boil for another 15 minutes.  Taste for salt and pepper, and serve.

I dropped a few cubes of muzza - mozzarella - into the bowl because it was my lunch, and after I took the picture I dropped a few more in.


C’est bon!

Thursday, August 26, 2010

Overkill

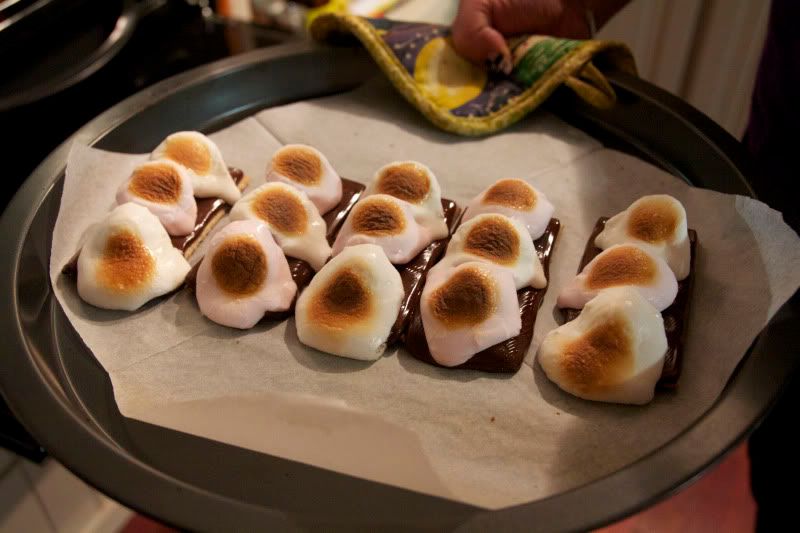
I have a weakness for Smores (more on this later) and a few days ago made mega indoor Smores, each one with a rectangular wholewheat cracker, a whole 25g serve of Aldi’s Moser Roth dark chocolate, which is a lot, and three marshmallows.

My older son pulled up to the kitchen just as I was getting them out of the grill, and looked down at the tray of oozing sweetness I was holding.

“Mum, Men at Work just rang.  They want ‘Overkill’ back.”


Sunday, August 22, 2010

Poha

OK so  I posted my recycled recipe for the poha leftovers before posting the recipe for the poha itself.  But this is an actual recipe, you know, with quantities and proper ingredients and times for cooking and stuff.  Oh, the pressure.

I read about poha a couple of weeks ago when looking at the brilliant Time photo essay, What the World Eats.  Without passing judgement whatsoever, it’s just fascinating to see what people eat on a daily basis, because food isn’t just one of the defining facets of culture, but it can also reflect everything from socioeconomic status, to religion, to the topographical landscape.  And the families in the pictures aren’t just asked to show what they eat in a week, but also to tell what they love to eat.  Hands down the family that gave me the biggest kick was the Melansons of Iqaluit, Nunavut Territory, Canada, who list their favourite foods as “narwhal, polar bear, extra cheese stuffed crust pizza, watermelon”, but the ones who sent me Googling were the Patkars of Ujjain, India, whose family recipe is “Sangeeta Patkar's Poha (Rice Flakes)”.

At this point, I felt cheated, because I felt I should know what these rice flakes were, but didn’t.  Even though I love and adore Indian food, maybe it was just something too exotic for me to have encountered before, I thought.  I asked Google.  Google said no.  Google said that poha is also known as flattened rice or beaten rice, and is very popular in India, particularly for breakfast.  Oh.  Thanks, Google.

Thick poha

At the Indian grocer’s near work, I found that poha comes in several thicknesses, and is a top convenience food.  Not only is it ready in half the time as rice, but you only need to rinse or soak it before cooking, if cooking it at all.  And it is light and fluffy when ready, in the way that you want rice to be but sometimes isn’t.

Poha with potatoes is a pretty standard combination, and once I knew what other cooks do to make it, I made my own.  But this is just the beginning, I reckon, and I can already see the possibilities for poha pilaf, poha ruz bish'irreeyeh, or even buttered poha with Parmesan on the side of something equally yummy.

While I enjoy a slice of cold pizza for breakfast as much as the next person (oh go on, admit it), and this poha is truly delicious, I don't think I could have it for brekkie.  So I served it for dinner with spinach sautéed in onion and garam masala and thick yoghurt stirred in.  But you don’t need an accompaniment.  This comforting bowlful o’carbs has pretty much everything you could want or need, as evidenced by the three main men in my life, who wolfed down massive helpings.


SPICED POHA WITH POTATOES AND CHICKPEAS
(serves 6)

Ingredients:
2 cups thick poha
2 tbsp. oil
2 tsp. mustard seeds
1 onion, chopped
2 green chilies, chopped
1 tsp. turmeric
a few curry leaves
a pinch of chili powder (opt.)
2 medium potatoes, diced
1 large tomato, chopped
1 cup cooked chickpeas (tinned are OK)
1 cup frozen peas
1/4 cup slivered or flaked almonds
salt and pepper, to taste
chopped coriander (cilantro), to taste
fresh lime or lemon juice, to taste

What you do:
1.  Put the poha to soak in a bowl of cold water while you prepare the vegetable mixture.
2. Heat oil in a large frying pan over medium-high heat.  Add mustard seeds.  When they pop and sputter, reduce the heat to medium and add the onion and chilies.  Sauté, stirring often, until onion is translucent, then add turmeric, curry leaves, and chili powder if using.  Stir constantly until aromatic.
3. Add potato and tomato, and jam the lid on.  Cook, stirring occasionally, until potatoes are tender but firm to the bite.  Add chickpeas, peas, and almonds, and allow to cook a few minutes.  Taste for salt and pepper, remembering that the poha is bland, so the flavour of the vegetable mixture will have to have oomph.
4. Drain poha, and stir into into vegetable mixture.  Jam lid on, and cook 5-7 min over low heat.  Fold in coriander and lime or lemon juice to taste.  Poha should be fluffy, so be careful when you do this so that you don’t break it down to mush.


 Swaadisht!

Saturday, August 21, 2010

Recycling Fridays: Omurice

I started Recycling Fridays more for me than anyone else, because while in a commercial kitchen I have used every scrap of food that may otherwise have been thrown away, from leftover eggwash (make into an omelette and put into a sushi roll) to stale bread (bread pudding), I tend to have my moments of terrible wastefulness at home.  It’s a combination of busy-ness and fluctuating numbers of people in the house.  (Matter of fact, after my two older children moved out and I was just cooking for two for the first time in twenty years, I overcatered for the first six months or so.  Even though I know how to correctly estimate how much people will eat, the psychology of cooking for your own family is something else again and my hands would insist on throwing in more handfuls.)


But another combination of two things has given me a new resolution halfway through the year.  The first was the discovery of the Love Food Hate Waste site, which, along with its handy advice, has some scary stats that will make you think, such as the fact that 8.3 million tons of food are thrown away every year in the UK alone.  The second is a project I am planning for my students.  The project begins with the photo essay, What the World Eats, continues with an activity on eating like most of the world eats (try spending 90 cents on each meal), and finishes on Oxfam’s can-do advice with its 4-a-Week campaign.  It’s stuff anyone can do:  buy one more Fair Trade product a week, buy one food product from a developing country a week, go veggie once a week, and throw one less thing away.  Easy.


So we’re back to Fridays and recycling what’s left in the ‘fridge.  And again, it’s rice.  Well - not exactly.  It’s something rather more exotic:  a beautifully spiced poha, with potatoes and chickpeas (more on this next post).  I didn’t want to mess around with it too much because it’s delicious as is, so I decided to serve it up as omurice for brunch for me and my son.


Omurice is an Anglicised compound Japanese noun for a dish of eggs and rice.  To paraphrase the monorail episode of the Simpsons, “Omu means omelette, and rice means rice!”  At its most basic, you fry up some cooked rice and season it with ketchup.  Yes, ketchup.  Then you make a very gooey omelette, roll it, sit it on top, split it to allow the runny egg to flow over the rice, and top with a little more ketchup.  Yes, more ketchup.  And it is absolutely delicious, whether you have leftover plain rice, or something more tarted up.  More elaborate versions of omurice feature a drier omelette wrapped around a rice filling that can include chicken and other yummy things, but I really love how the rice combines with the runny egg, and the ritual of splitting the omelette open.  It’s marvellous. 


Now... I’m not going to give you detailed instructions nor provide a recipe, just because it’s so much fun watching people - samurai cooks who can handle a frying pan like a sword - make omurice on film.  In fact, the first time I ever saw omurice being made was the omurice scene from Tampopo, a Japanese film that is pretty much just a series of vignettes on food and sex.  Omurice is a popular dish in restaurants as well as at home, so you’ll often have chefs cooking omurice at restaurant windows to show off their skill and entice people in.  At home, your doggy sous-chef can help make a wrapped omurice that is wrapped around something that is suspiciously like arroz con pollo.


Here is the poha.  See the mustard seeds?  Yumbo McGillicutty!  When you fry your rice, don't crowd the pan, and keep the heat high, otherwise your rice will go mushy.  Besides - this is supposed to be a fast dish.  You want to spend five minutes on the entire thing, tops.

Add a little tomato ketchup, just to season.  Toss over high heat to coat.   Pile onto a warmed plate in a kind of oblong mound.  Your omu will only take a minute or two to cook, so the rice will stay plenty hot.


Sit your omu - hopefully yours won't look as mutant as mine - on top of the rice.  This is a three-egg omelette.
Split the omu with a sharp knife and open it up so that the egg flows over the rice.  Top with the sauce of your choice, although ketchup is traditional.  And I don't know how or why ketchup is traditional, but it is.


Oishi!

Thursday, August 12, 2010

Recycling Fridays: Arancini

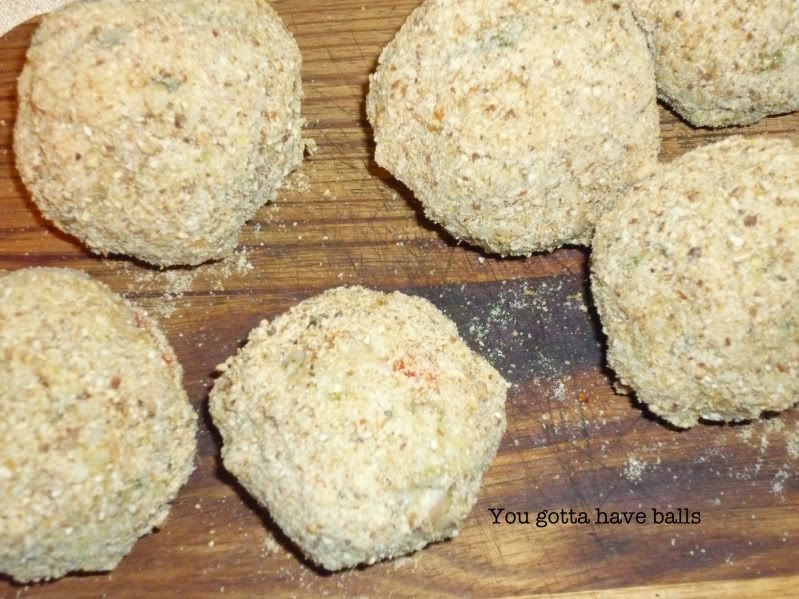
You see them in menus all over the place these days: arancini ("little oranges").  Made meatier and a little spicier and hailing from Sicily rather than Rome, they are known as supplì al telefono, or "telephone wires", so called because of the strands of cheese that form when you pull them apart.  But they are basically the same thing:  fried risotto balls with melty cheese in the middle.


They are very, very good, but barring some kind of desperate hormonal craving for arancini, it bugs me to see recipes for arancini specifying the risotto made from scratch.  Why not just say, "Got any leftover risotto?  Well, this is what you do!"  I mean, you're going to have to cool the risotto down anyway, meaning that not only do you have a two-stage cooking process (and the first one, if the risotto is properly made, is fairly laborious in terms of stirring-until-you-scream) ahead of you, but also the cooling process (at least an hour) in the middle, and ufa!  Enough already!  I'll buy one from the café next door to work on Monday!


But if you have any leftover risotto, then guess what?  This is what you do.  And you can even plan it ahead this way (Google "planned-over": the planned alternative to leftovers), because when you're not cooking industrial quantities, cooking a little extra is exactly as much hassle as cooking the amount you were going to cook in the first place.  Risotto is best when freshly made, and, as I remind the family when I call them to table, waits for no man, so no matter how nice the leftovers are for lunch the next day, they cannot approximate the perfection of the creamy plateful you had the night before.  Arancini, however, are beasties unto themselves and will transform whatever risotto you had in the 'fridge into something Very Special Indeed.


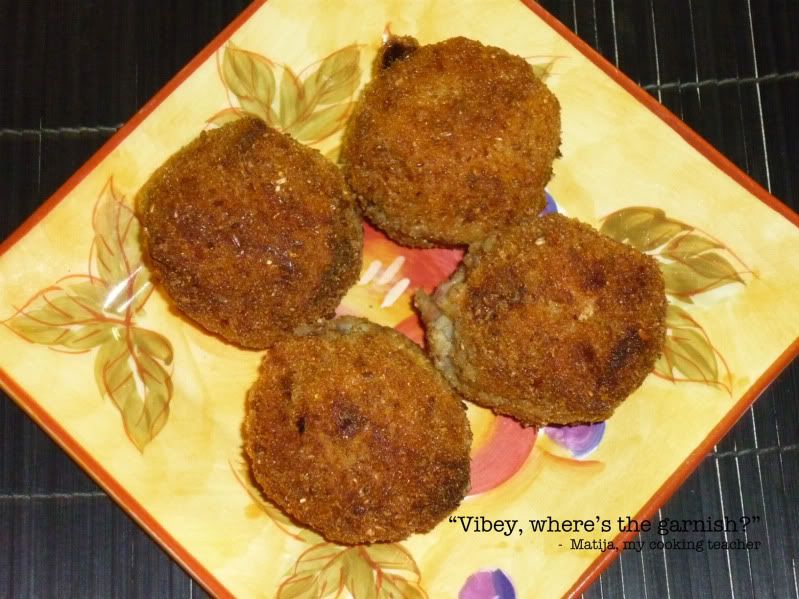
Our arancini today were as good as the risotto they were made from, and seeing as it was Bettsy Boy's risotto, it was pretty good, full of his standards:  bacon, chicken, and whatever vegies were in the crisper on Monday.


You will need:
  • Leftover risotto of any persuasion
  • Mozzarella cheese, or some other delicious melty cheese
  • Egg
  • Breadcrumbs (no, the egg and breadcrumbs are not a crumbing set, so relax)
  • Vegetable oil, for frying


What you do:


Leftover risotto will be crumbly; you need to make it into a cohesive mass.  This is what the egg is for.  How much egg?  My daughter could tell you, through gritted teeth:  enough.  Break down the risotto in a bowl, and add beaten egg while mixing with your hands, until it's a consistency that will hold together when pressed.


Take a portion of risotto in your hand and press it into a flattish patty.  Place a cube of cheese on the patty, and fold your hand over to enclose it.  Pat with your hands to form a ball.  (Needless to say, you can make these whichever size you like.  Bite size, snack size... MAN SIZE!  Just make sure the size of your cheese cubes corresponds.) 


Roll balls in breadcrumbs.


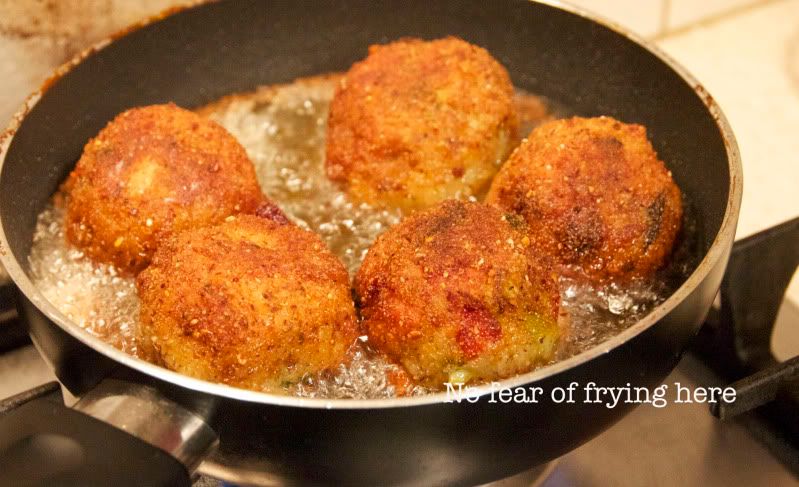
Heat enough oil in a frying pan to deep-fry.  If you have a thermometer, you're after 180oC, and if you don't, you want a cube of bread dropped in the oil to be golden in 10-20 seconds.  Add arancini, but do not crowd the pan (this would make the temperature drop, making them absorb oil).  Cook for a few minutes each side, until golden.


Drain on paper towels, and allow to sit for a couple of minutes before serving.  This will allow the temperature to equalise and let the cheese melt further, prevent mouth blisters (I know whereof I speak), and yes, they'll still be satisfyingly crunchy on the outside.


Enjoy with a sauce, or on their own with salad.  Or just enjoy.  You know.


Hot, sterilized jars - in 2 minutes

Half the time it’s not the recipe that turns you off making a yummy preserve, but the dreaded words, “put into hot, sterilized jars”.

“Hot, sterilized jars”?  What does it mean?  Do you have to add more work to the preserving process by boiling the jars and then sticking them in the oven upside down on sheets of newspaper to dry and keep warm?  Well, if you listen to the usual instructions, yes.  But if you listen to me, no.  Furthermore, no, no, and no, I say.

To sterilize jars (and glasses too – I keep all my odd glasses for preserves since they can be topped with those clear seals made by Vacola) my way, you’ll need to do one at a time.  But this is easy, because while you’re filling up one hot, sterilized jar, the next jar can already be sterilizing in the mikey.

So:

Simply fill your jar with 2.5cm water.  Put it into the microwave, and nuke on high for 2 minutes.  The water will boil and the jar fill with steam.  With protected fingers, grab the jar and empty out the water.  Place it on a towel on the bench, and wait a few seconds for it to dry, which it will do all on its own.  When it’s dry, fill it with your preserve, wipe the rim, and seal.  Easy.

Now, this is important:  ON NO ACCOUNT, EVER, PLACE THE HOT STERILIZED JAR ON THE BENCH WITHOUT A TOWEL.  The bench may not feel particularly cold to you, but the difference in temperature between jar and bench is big enough to make the jar crack, or worse, burst.  This is not an urban myth!  I personally know someone who pulled a jar filled with tomato preserves out of the microwave and onto an unprotected bench, and in the resulting explosion ended up covered in scalding hot preserves and had to be rushed to hospital with serious burns.  So put towels on the bench, and let the jars cool on towels, too.